在O2OA中使用网络会议(一):Openmeetings-5.1.0亲手安装整理 Step-By-Step
本文主要讲解Openmeetings-5.1.0安装的过程,O2OA服务器的相关配置教程将随后发布。
教程比较详细,可以按照步骤一步一步安装服务器的安装,如果您在安装过程中有遇到其他的问题,请及时联系我们,我们会进一步更新安装手册。
O2OA实际上是集成Openmeeting来实现网络会议的,Apache-Openmeeting是一个开源的网络会议系统,我们可以在Openmeeting官方网站上得到更多的信息。
介于Openmeetings的安装比较复杂,所以在这里,我们也把我们安装的过程共享出来,希望对大家有所帮助:
Openmeetings官网:https://openmeetings.apache.org/
Openmeetings官网下载:https://openmeetings.apache.org/downl
Openmeetings官方手册:https://openmeetings.apache.org/installation.html
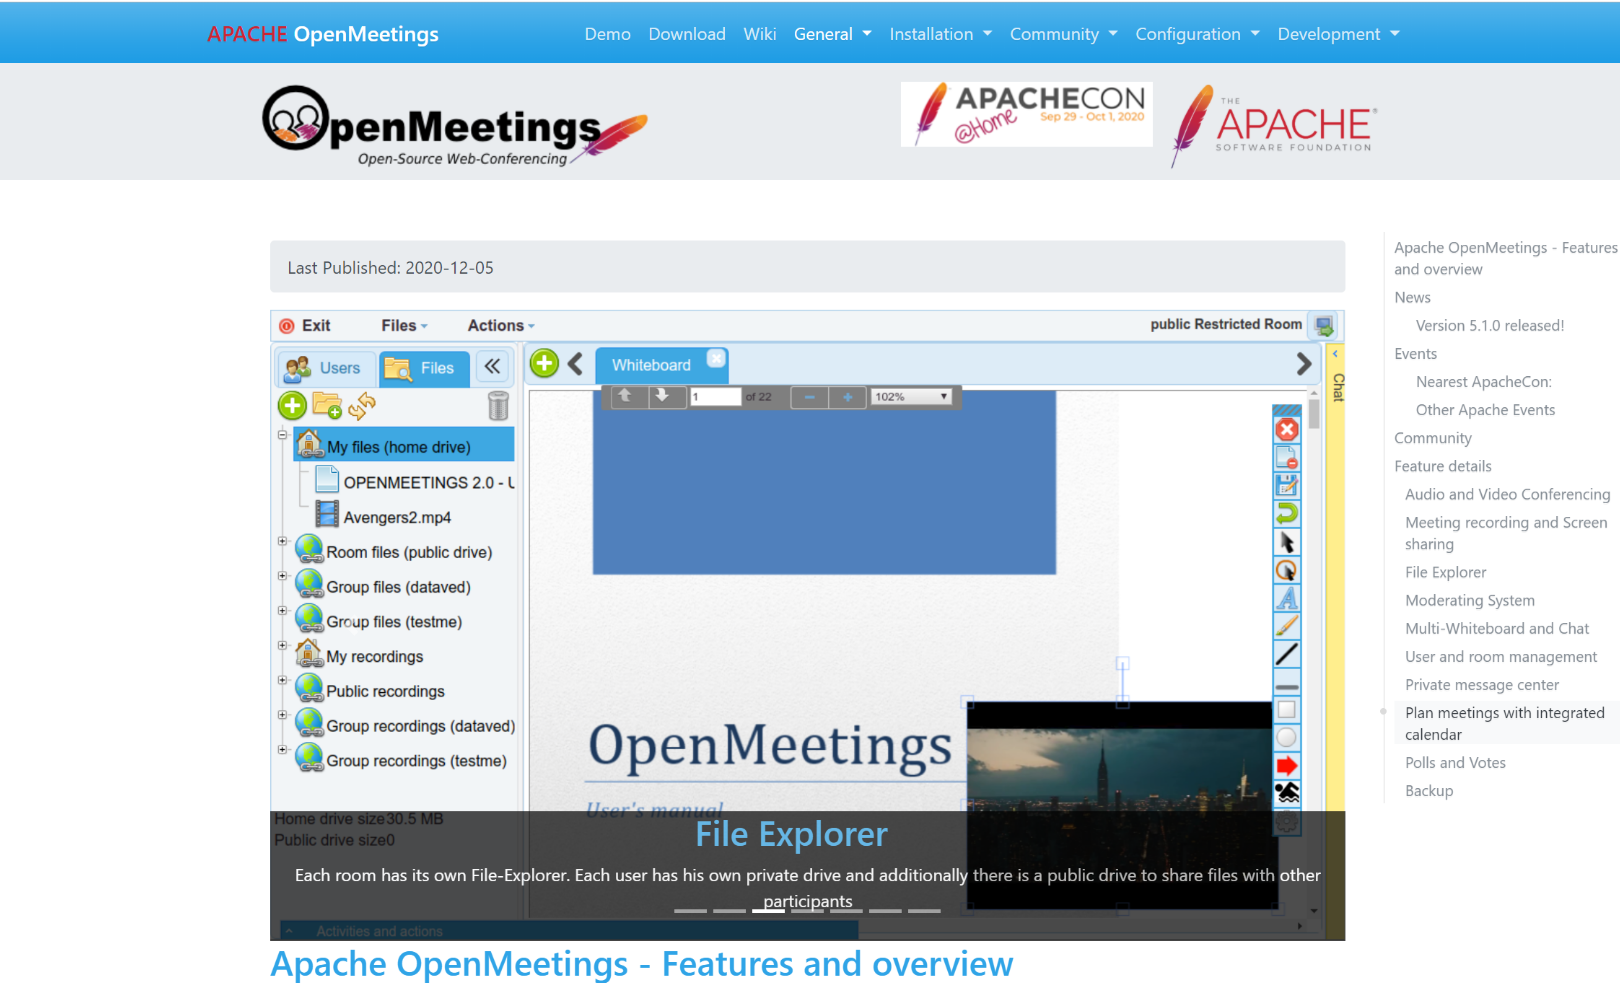
从Openmeeting官方发布的安装手册中可以看到,服务器的安装需要如下几个步骤:
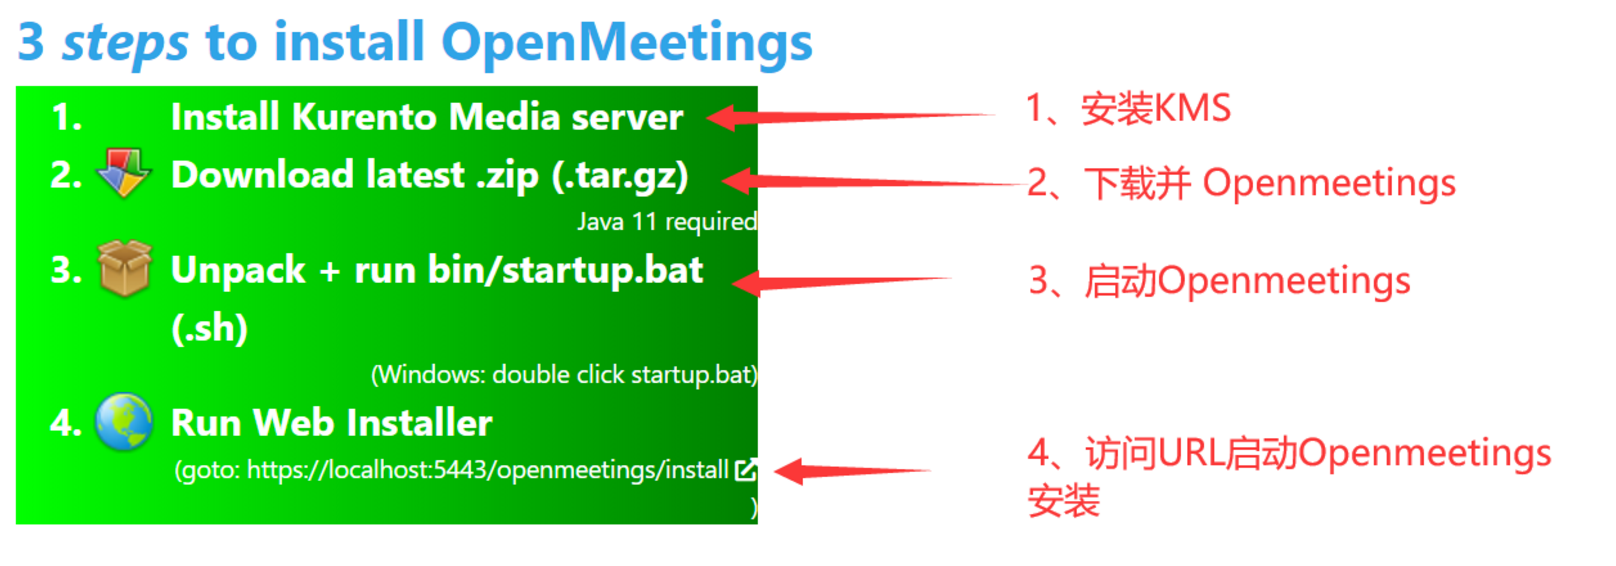
本文后续就按照Openmeeting官方安装手册的要求逐步完成目前最新版本5.1.0的安装:
Version 5.1.0 released! Release 5.1.0, provides following improvements: This release provides WebRTC audio/video/screen-sharing in the Room Stability: ● Room Audio/Video should be more stable ● OM should work as expected after KMS server restart ● Backup is further improved ● Audio/Video connection established faster ● Most recent versions of dependencies are used UI: ● User display name is used almost everywhere ● Browser notifications are used to notify about new chat messages and moderator actions ● Interview room was broken ● Mute and "Mic status" were broken Other fixes and improvements 52 issues are fixed please check CHANGELOG and Detailed list See Downloads page. |
一、安装KMS(Kurento Media Server)
(含操作系统准备)
KMS官方文档:https://doc-kurento.readthedocs.io/en/stable/index.html
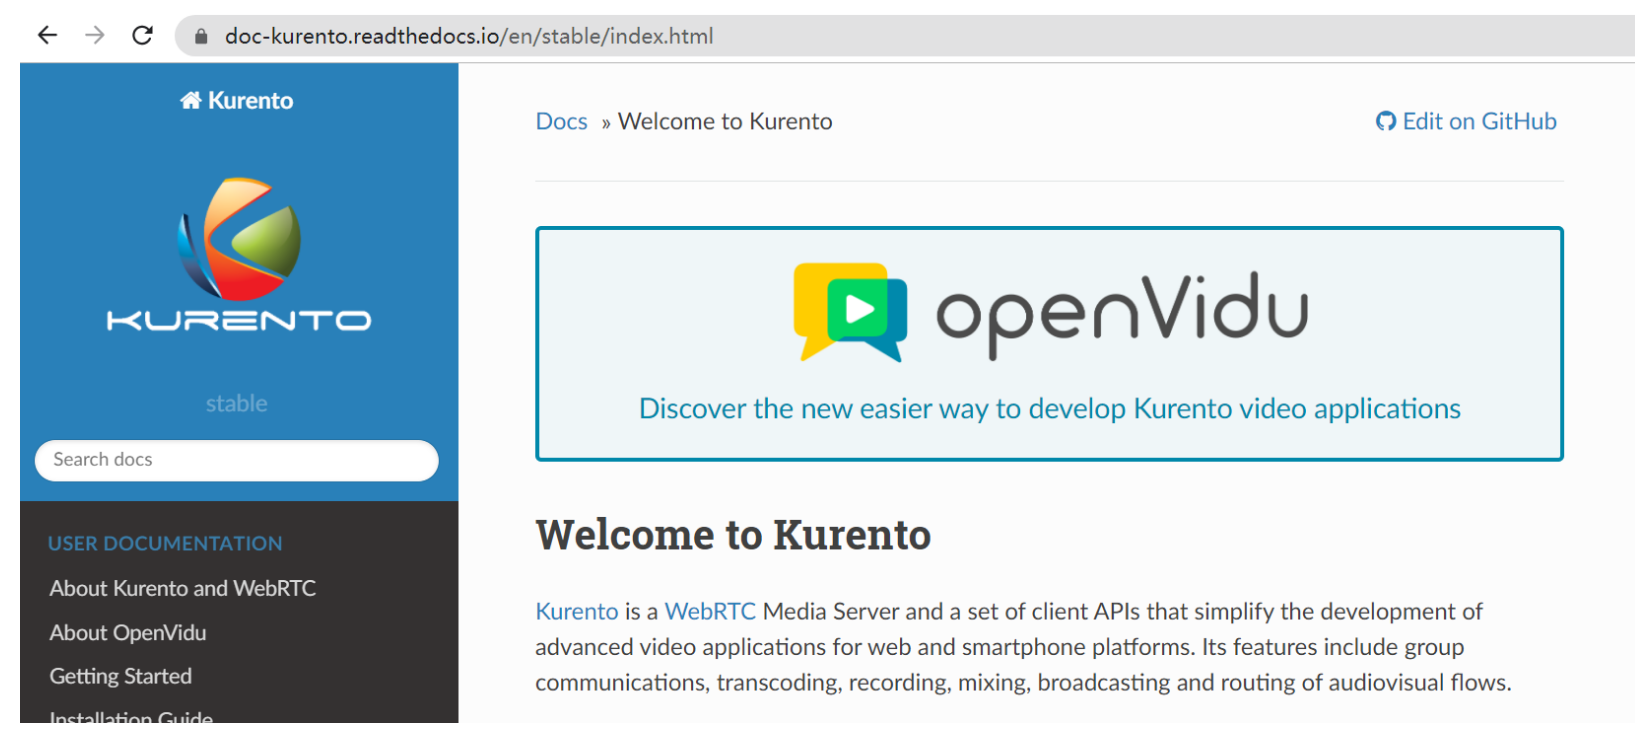
KMS安装手册:https://doc-kurento.readthedocs.io/en/stable/user/installation.html
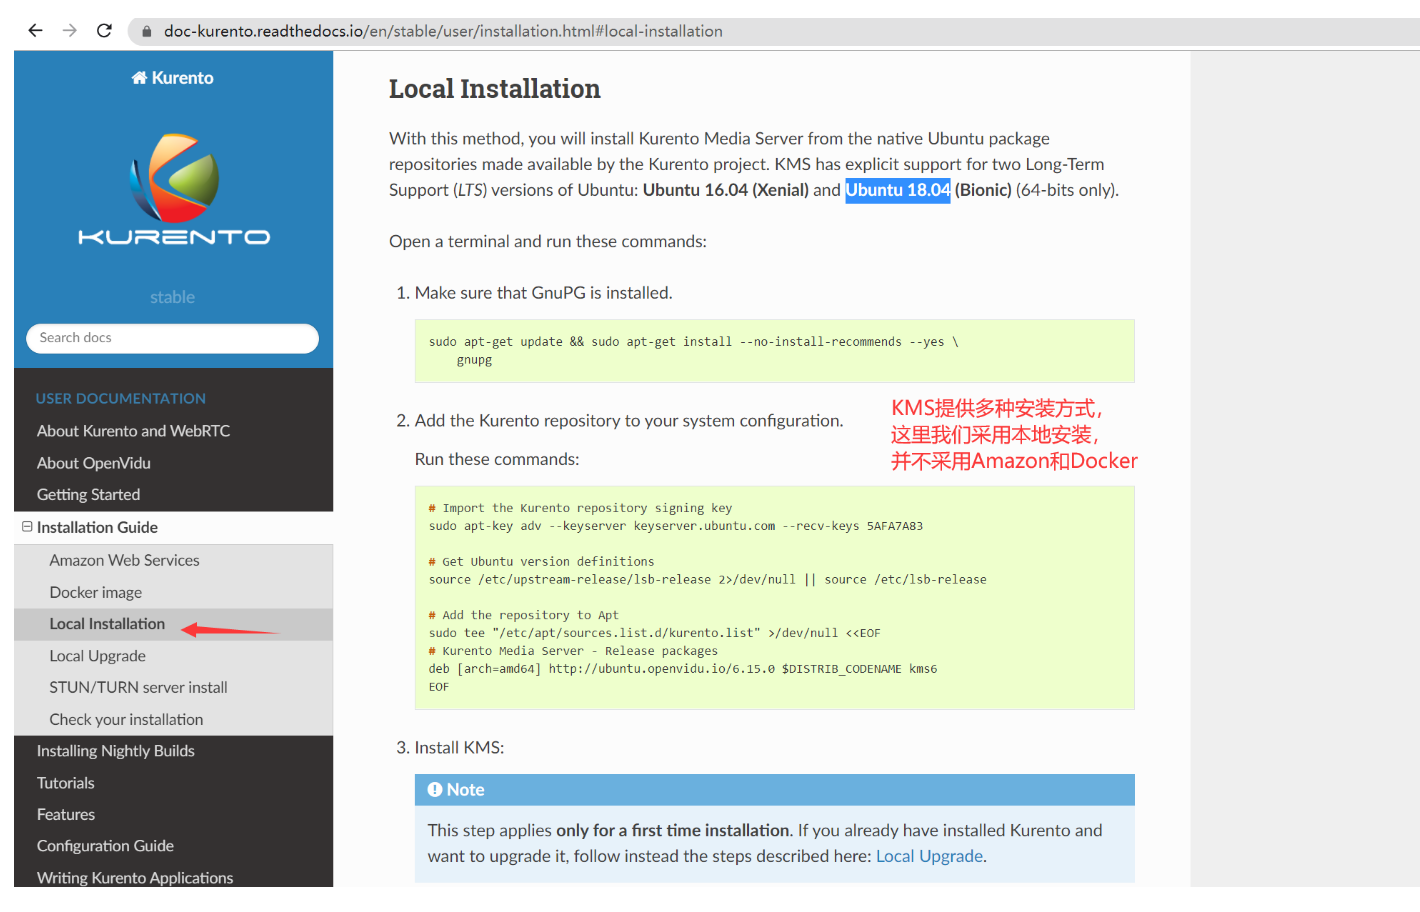

我们可以从Local Installation里看到,KMS支持长期支持版Ubuntu16.04和Ubuntu18.04(64位版本),这里我们打算使用Ubuntu18.04(64位),下文先讲述操作系统准备的过程,已经准备好的朋友,请看后续章节《安装Kurento Media Server》。
1、安装Ubuntu18.04配置网络
1)准备镜像文件
下载链接:http://releases.ubuntu.com/18.04/ubuntu-18.04.5-live-server-amd64.iso

2)安装操作系统Ubuntu18.04
在安装过程中会提示选择需要 安装的应用组件,可以根据自己的需要进行选择。建议安装openssh
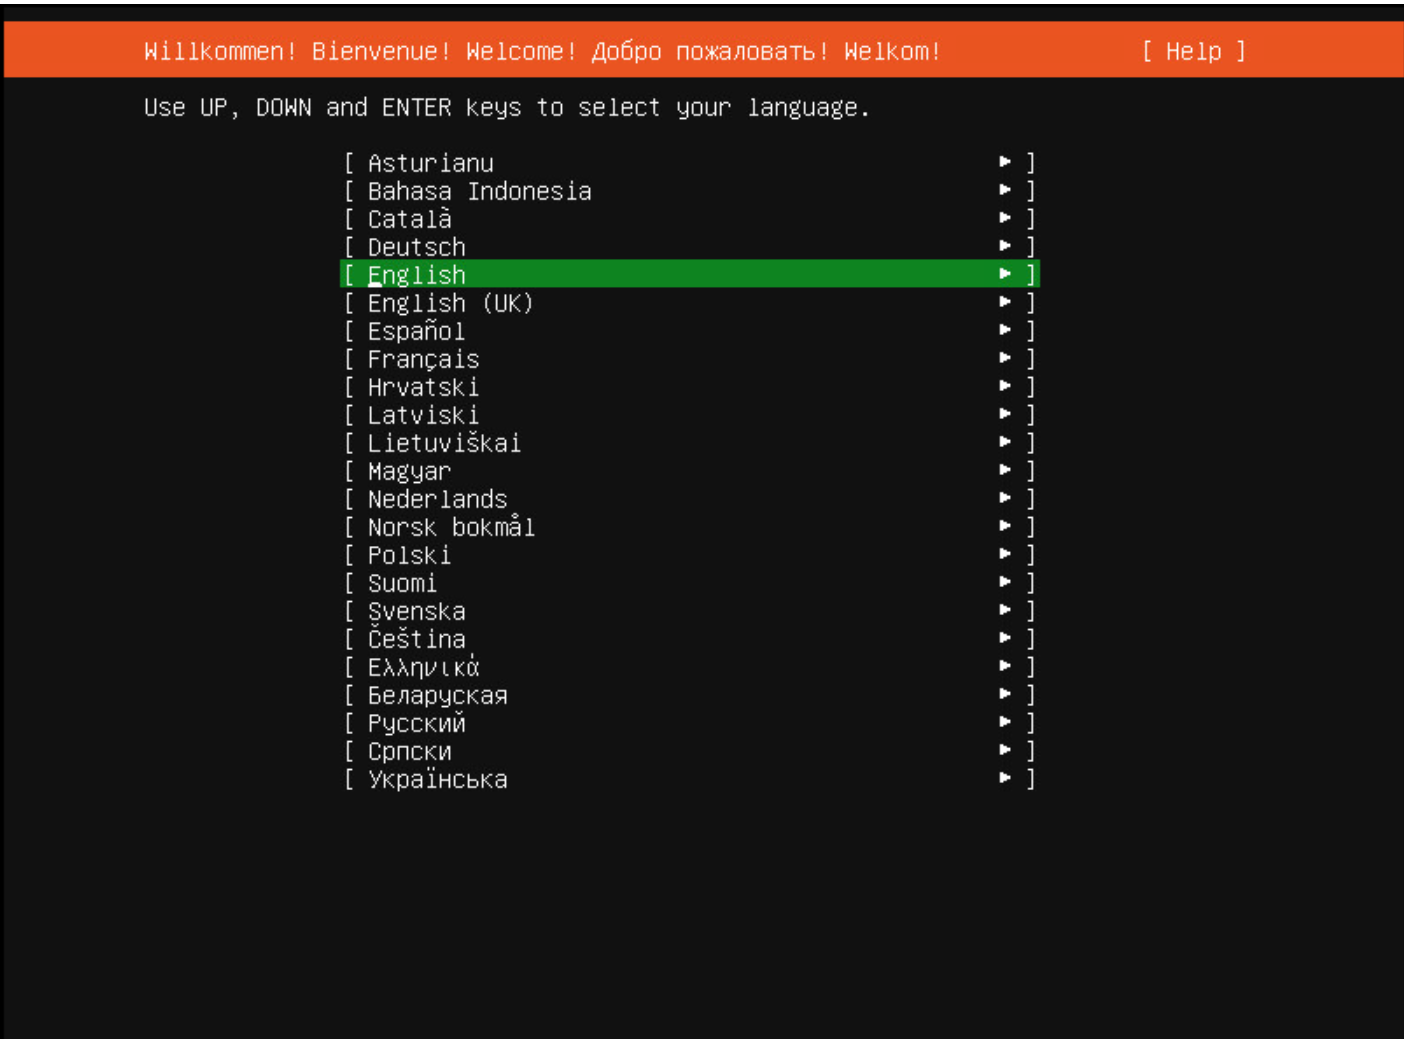
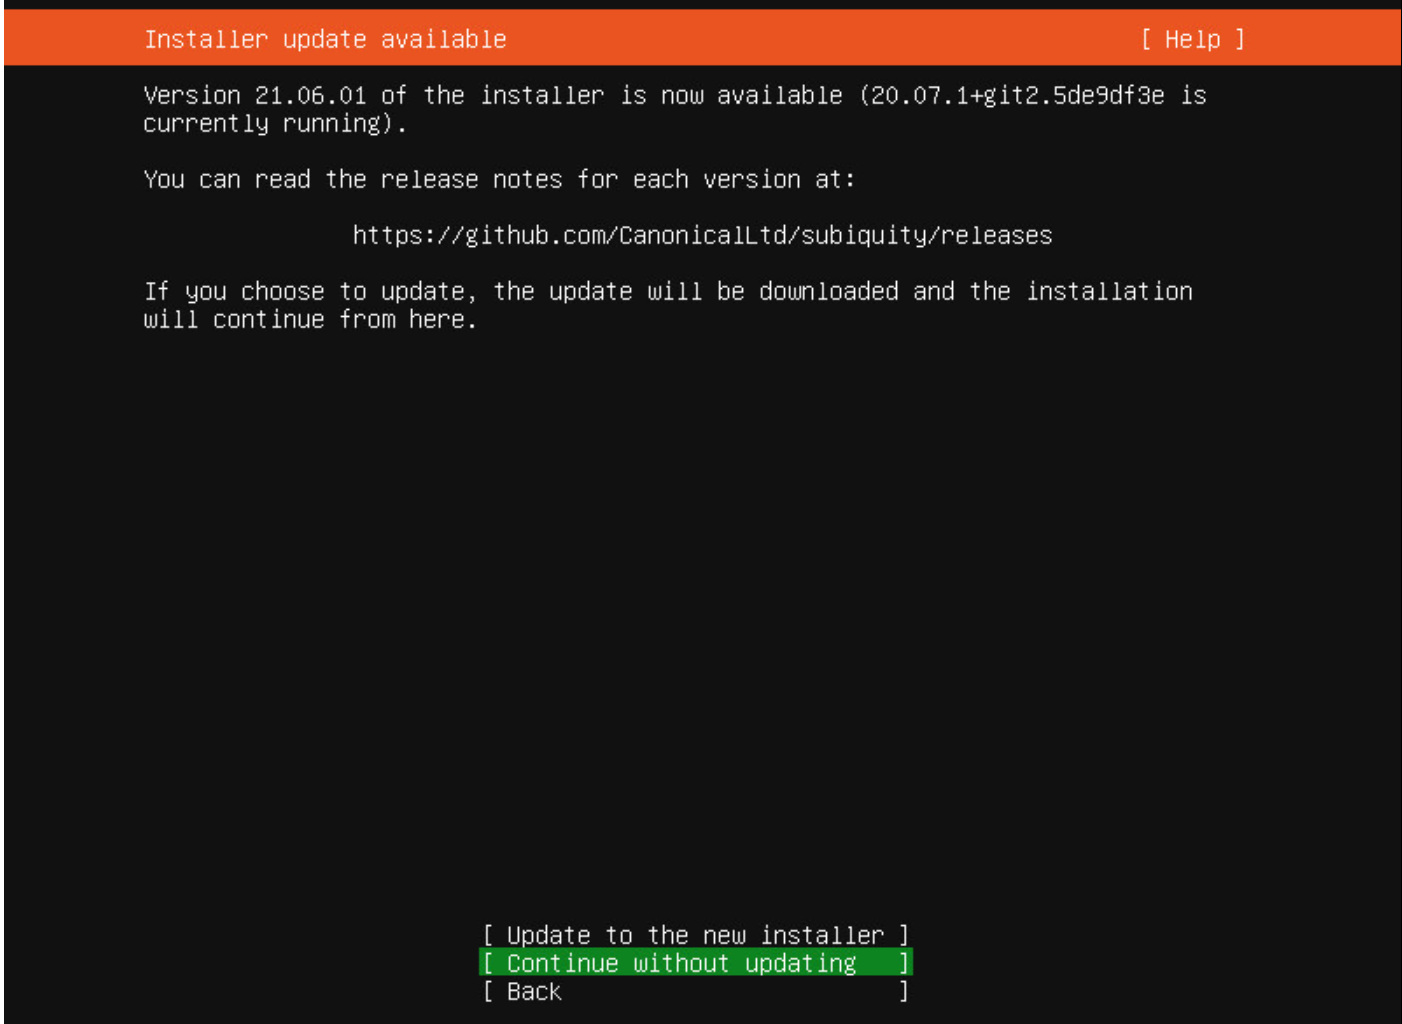
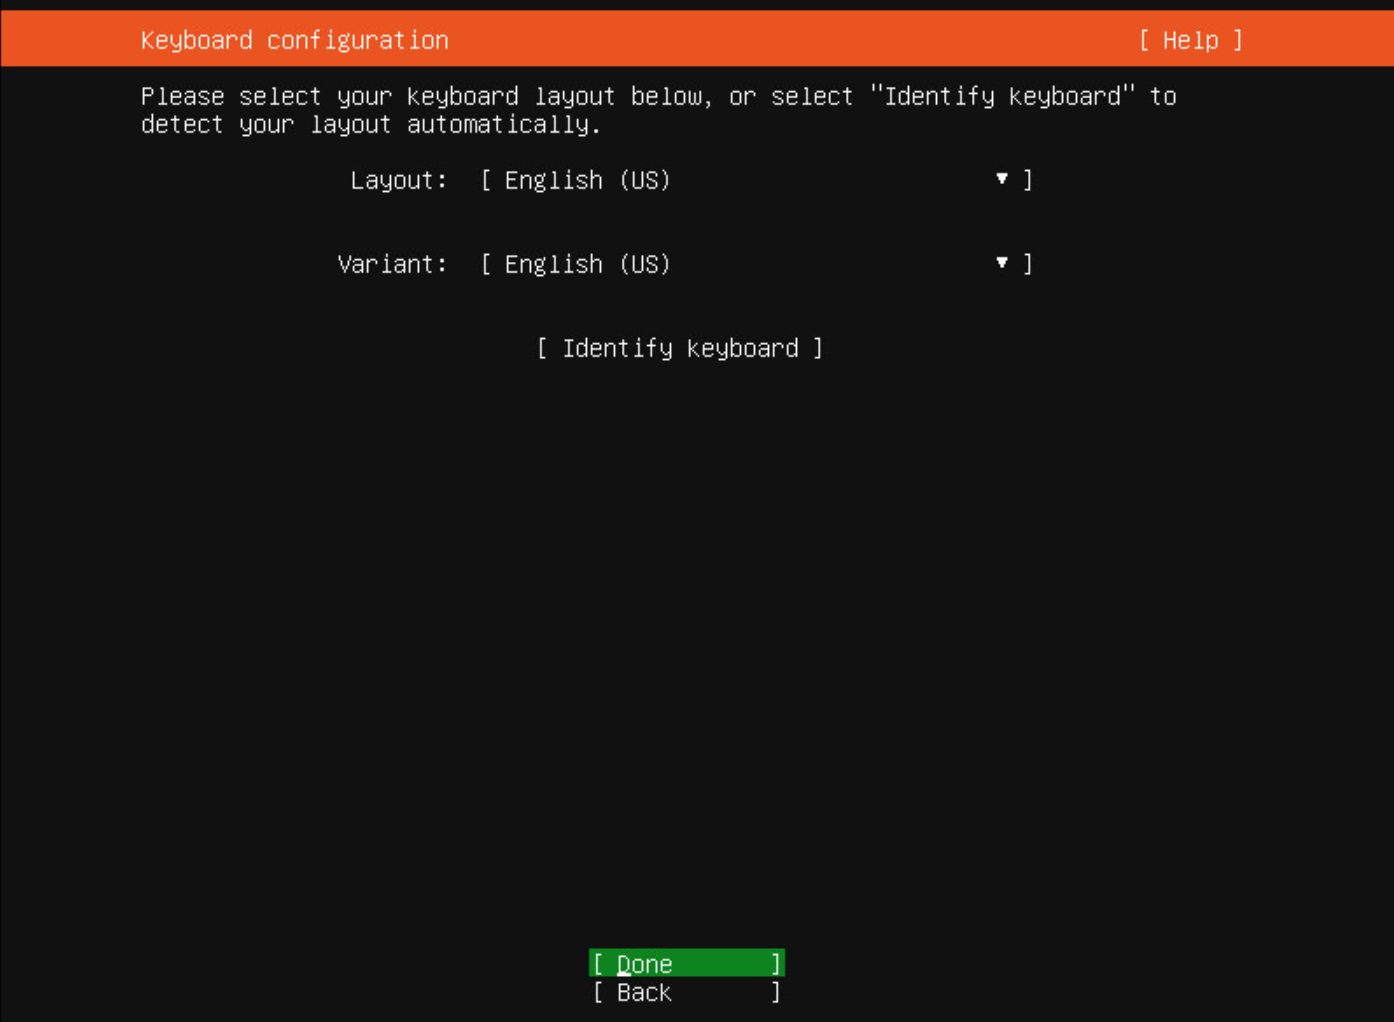
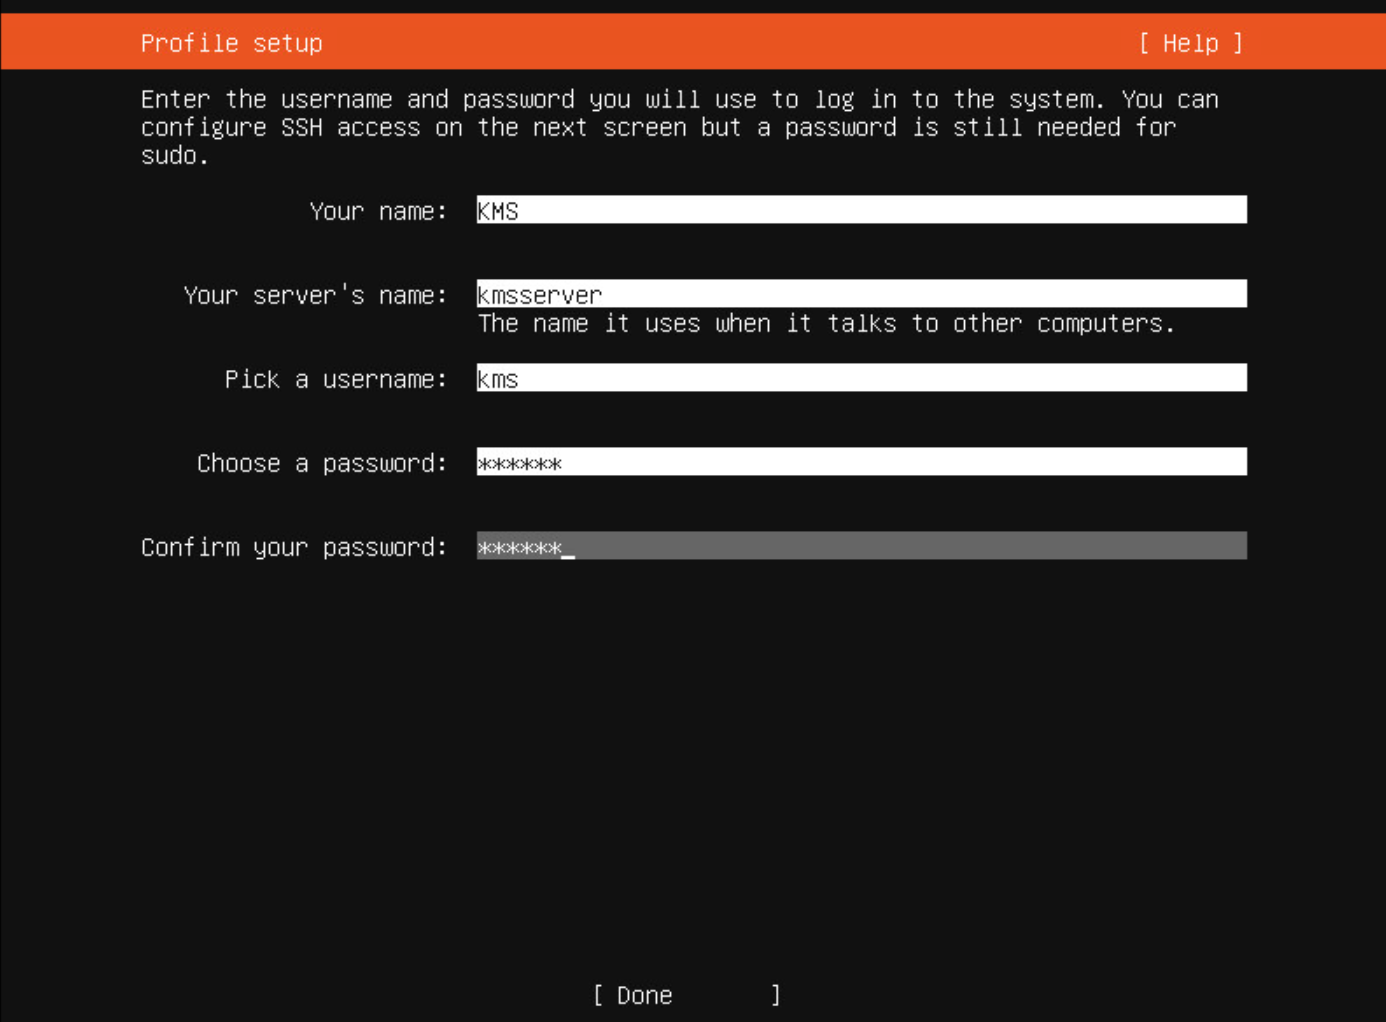
在安装过程中,设置用户kms,密码:123456。
root密码可以在安装完成后进行修改。
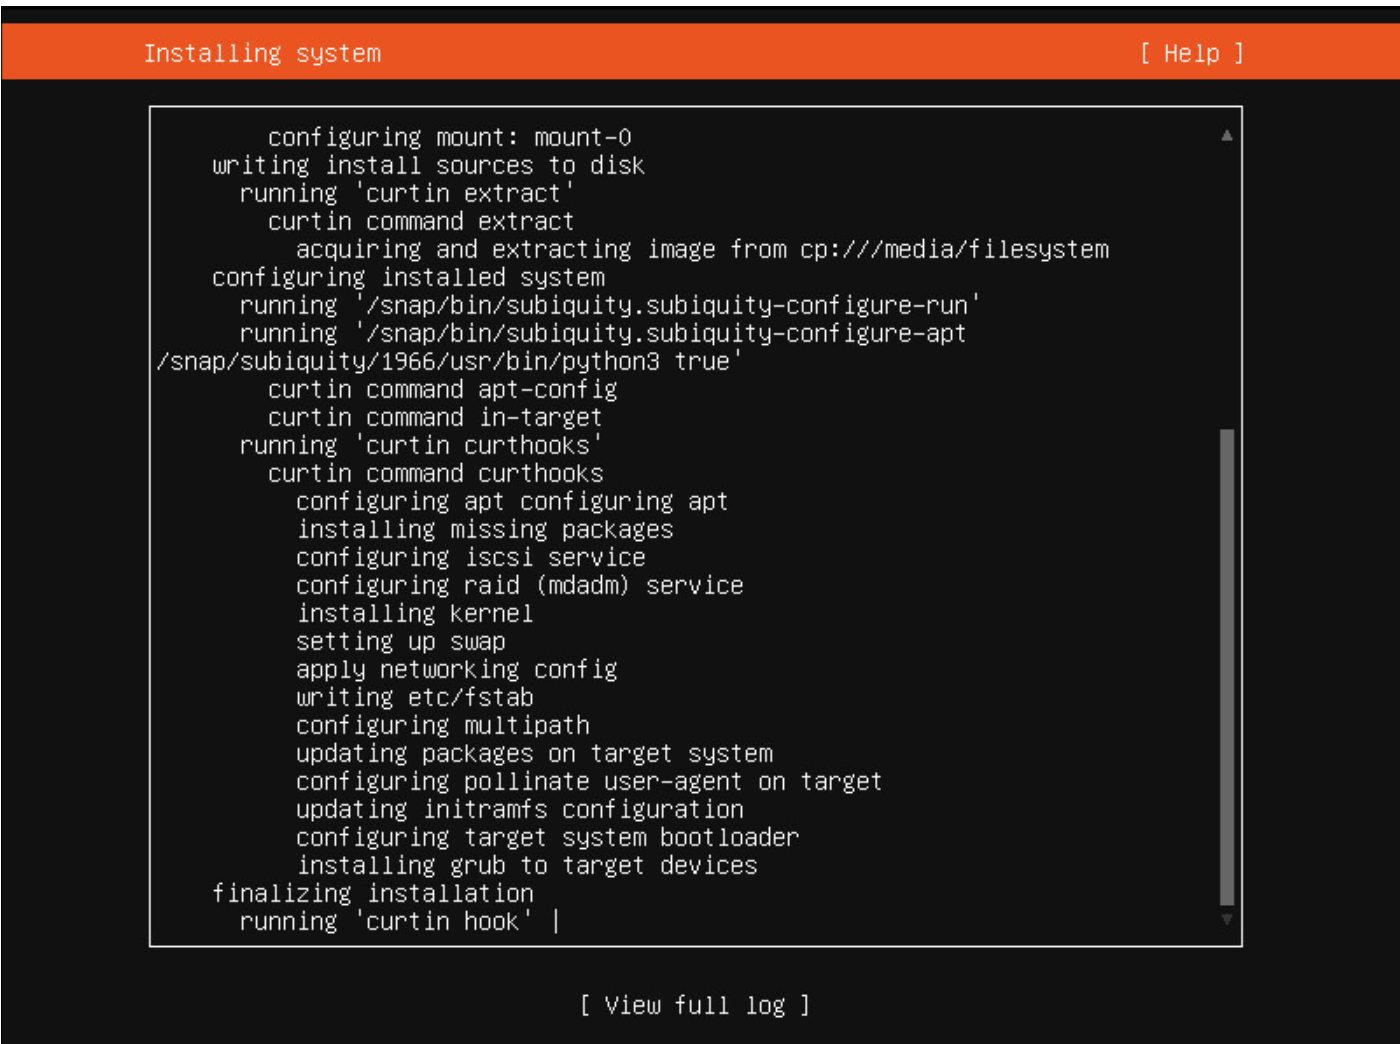
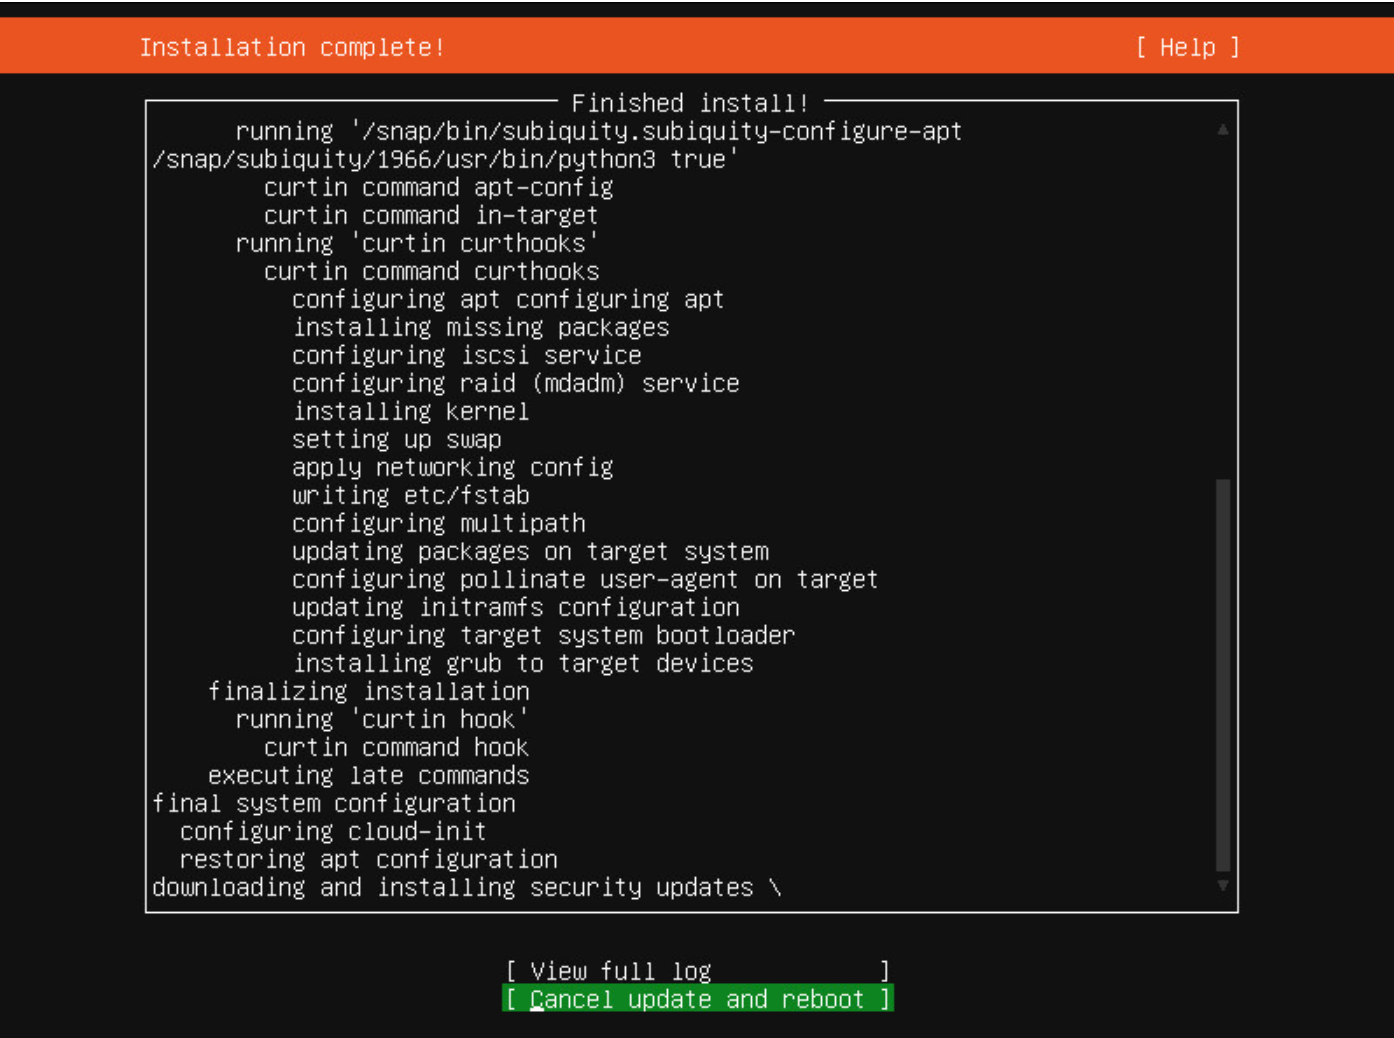
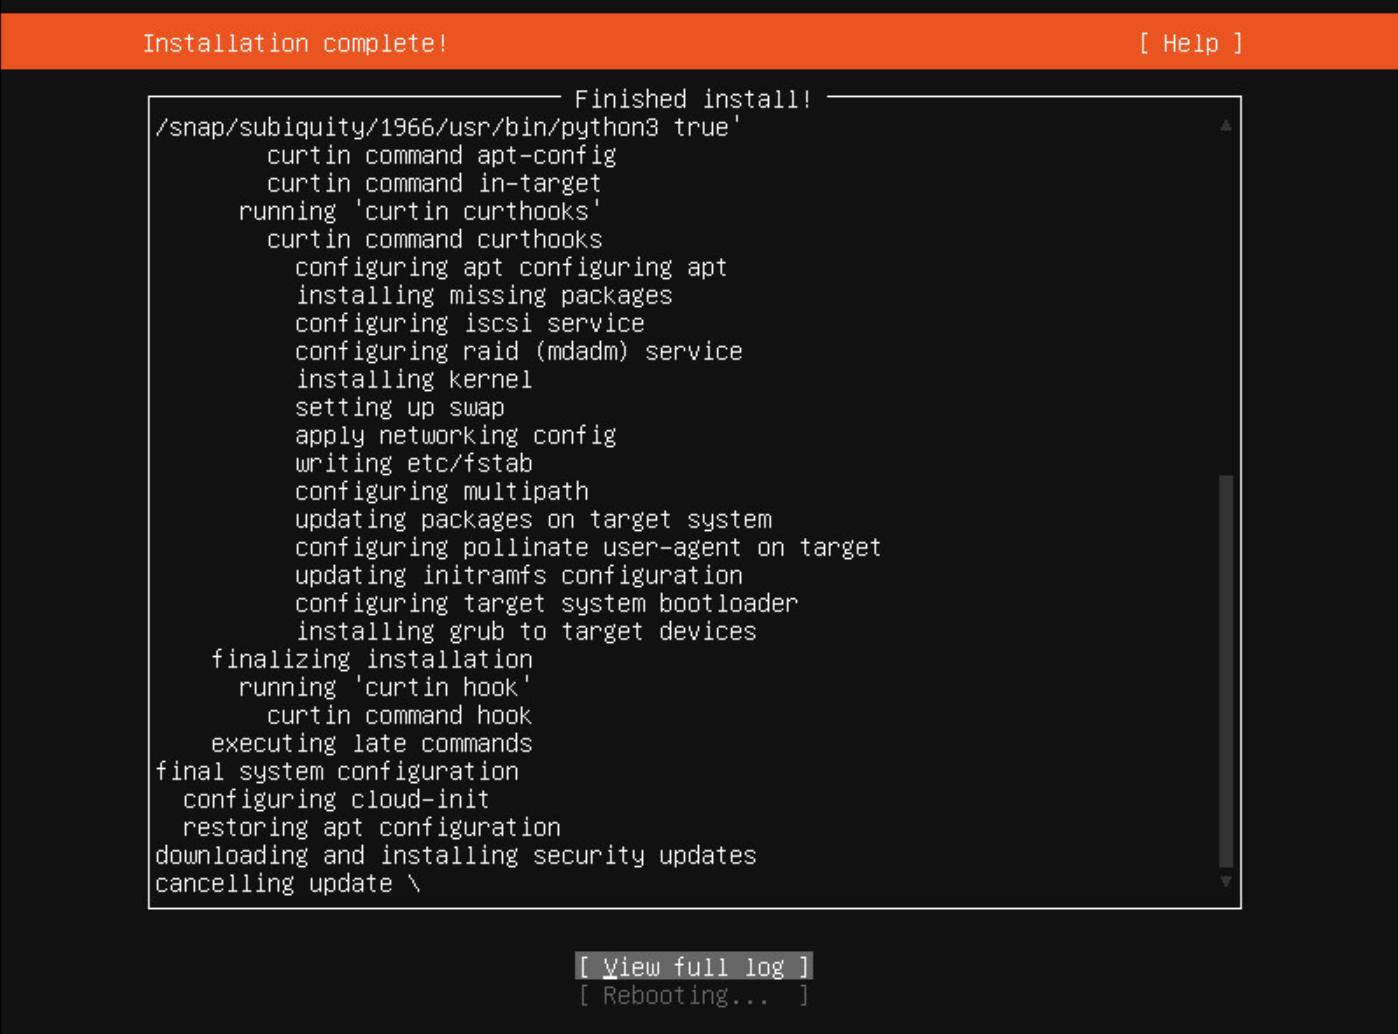
3)修改root密码
安装完成后,重启服务器,进入登录界面:

使用kms用户登录系统:kms/123456
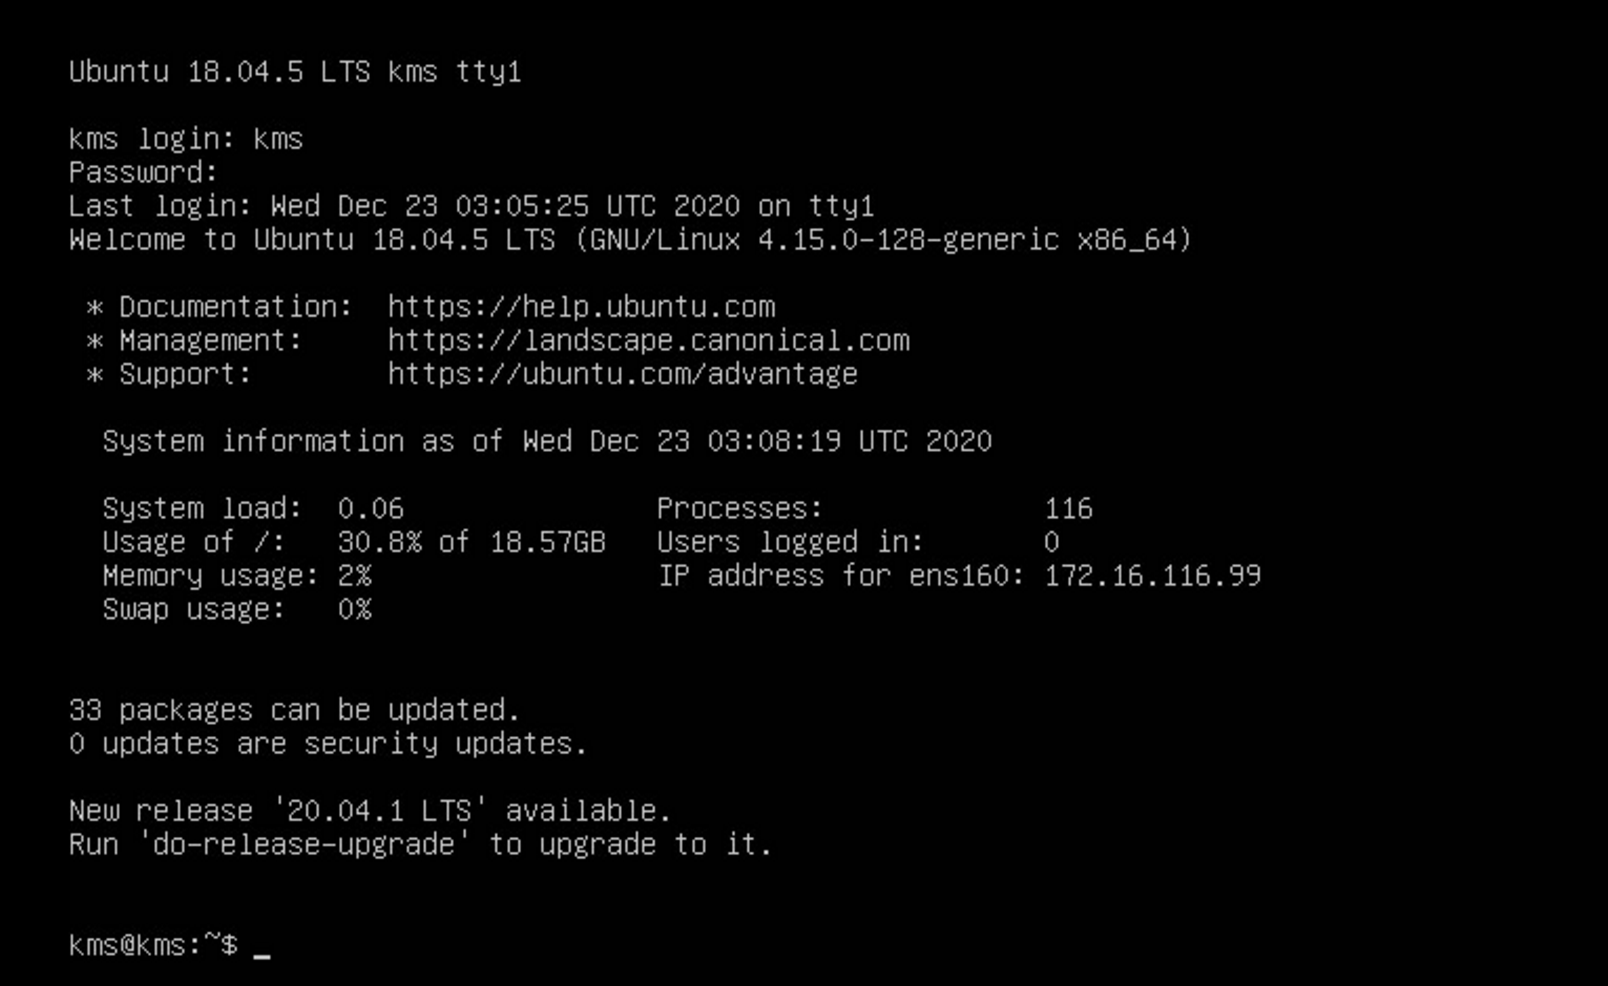
修改root密码为123456
sudo passwd root
先输入kms用户密码 123456,再设置root密码(UNIX密码)。

root密码修改成功。

4)配置网络
在安装操作系统时就可以根据要求配置网络,也可以在安装完成后进行配置。
Ubuntu从17.10开始,已放弃在/etc/network/interfaces里配置IP地址,即使配置也不会生效,而是改成netplan方式,配置写在/etc/netplan/01-netcfg.yaml或者类似名称的yaml文件里,每台主机略有不同:
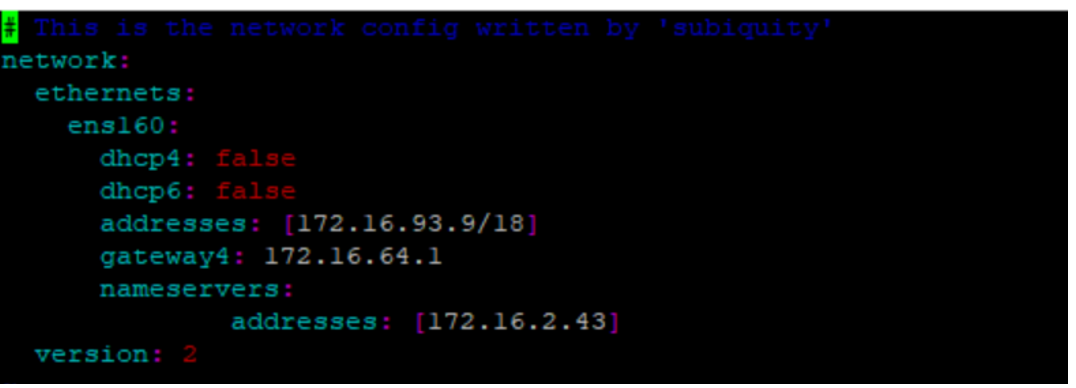
编辑yaml文件:
vi /etc/netplan/00-installer-config.yaml
# Let NetworkManager manage all devices on this system
network:
  ethernets:
          enp129s0f0:
    		  #dhcp4: true
    #dhcp4: true
                  addresses: [172.16.93.9/18]
                  gateway4: 172.16.64.1
                  nameservers:
                          addresses:[172.16.2.43]
  version: 2
  #renderer: NetworkManager
关于子网掩码的表示,可以百度查一下:
172.16.93.9/24 :255.255.255.0
172.16.93.9/18 :255.255.192.0
设置完成后执行命令让配置生效:
sudo netplan apply
设置完成后,可以使用SSH工具连接服务器即可。
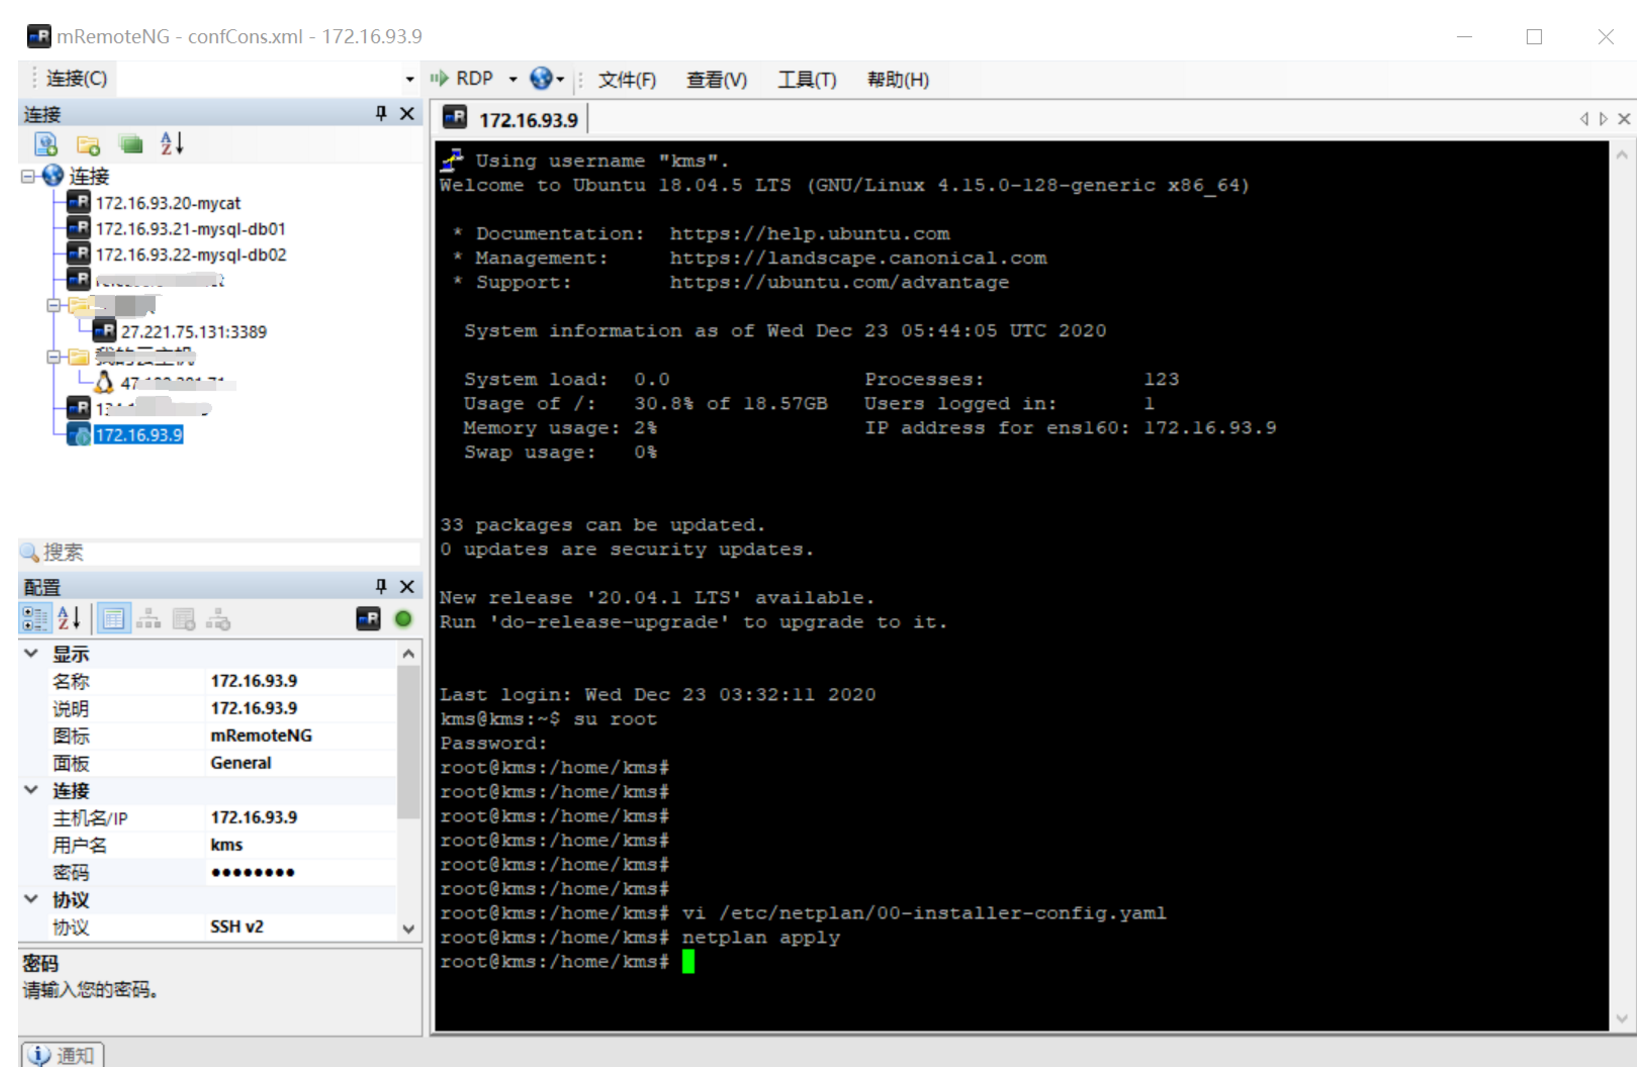
5)设置或者关闭防火墙
sudo ufw disable
如果仍然连接不上,可能是没有安装openssh服务,可以参考以下文档安装openssh服务:
https://blog.csdn.net/gymaisyl/article/details/86570426
2、安装KMS
1)确认GnuPG 是否已经安装
Make sure that GnuPG is installed.
sudo apt-get update && sudo apt-get install --no-install-recommends --yes
    gnupg
执行命令过程如下图所示:

2)在系统配置中添加Kurento仓库配置
Add the Kurento repository to your system configuration.
Run these commands(执行如下命令):
# Import the Kurento repository signing key
sudo apt-key adv --keyserver keyserver.ubuntu.com --recv-keys 5AFA7A83
# Get Ubuntu version definitions
source /etc/upstream-release/lsb-release 2>/dev/null || source /etc/lsb-release
# Add the repository to Apt
sudo tee "/etc/apt/sources.list.d/kurento.list" >/dev/null <<EOF
# Kurento Media Server - Release packages
deb [arch=amd64] http://ubuntu.openvidu.io/6.15.0 $DISTRIB_CODENAME kms6
EOF
# Import the Kurento repository signing key(导入Kurento仓库的签名)
sudo apt-key adv --keyserver keyserver.ubuntu.com --recv-keys 5AFA7A83
此命令执行需要一点时间:

# Get Ubuntu version definitions(获取Ubuntu版本信息定义)
source /etc/upstream-release/lsb-release 2>/dev/null || source /etc/lsb-release
# Add the repository to Apt(将Kurento仓库添加到apt)
sudo tee "/etc/apt/sources.list.d/kurento.list" >/dev/null <<EOF
# Kurento Media Server - Release packages
deb [arch=amd64] http://ubuntu.openvidu.io/6.15.0 $DISTRIB_CODENAME kms6
EOF
3)Install KMS(安装KMS)

提醒:此步骤仅适用于第一次安装。如果您已经安装了Kurento并想升级它,请按照下面描述的步骤进行:本地升级(Local Upgrade)。
sudo apt-get update && sudo apt-get install --no-install-recommends --yes
    kurento-media-server
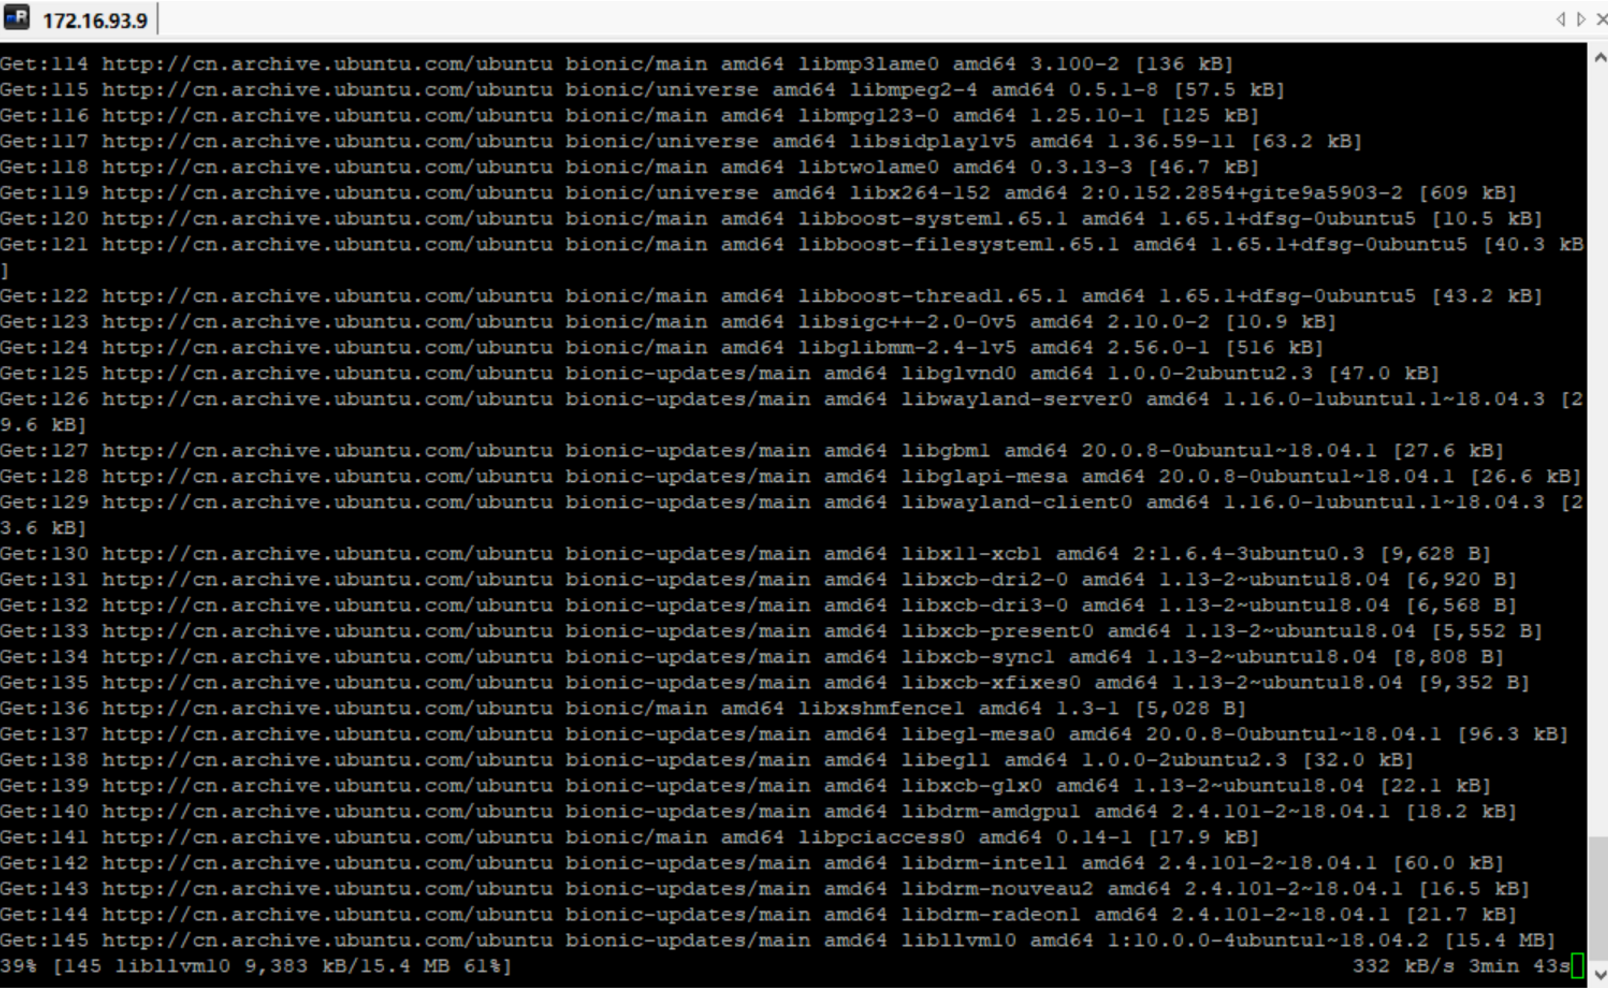
执行命令后等待,直到安装完成(需要一点时间):
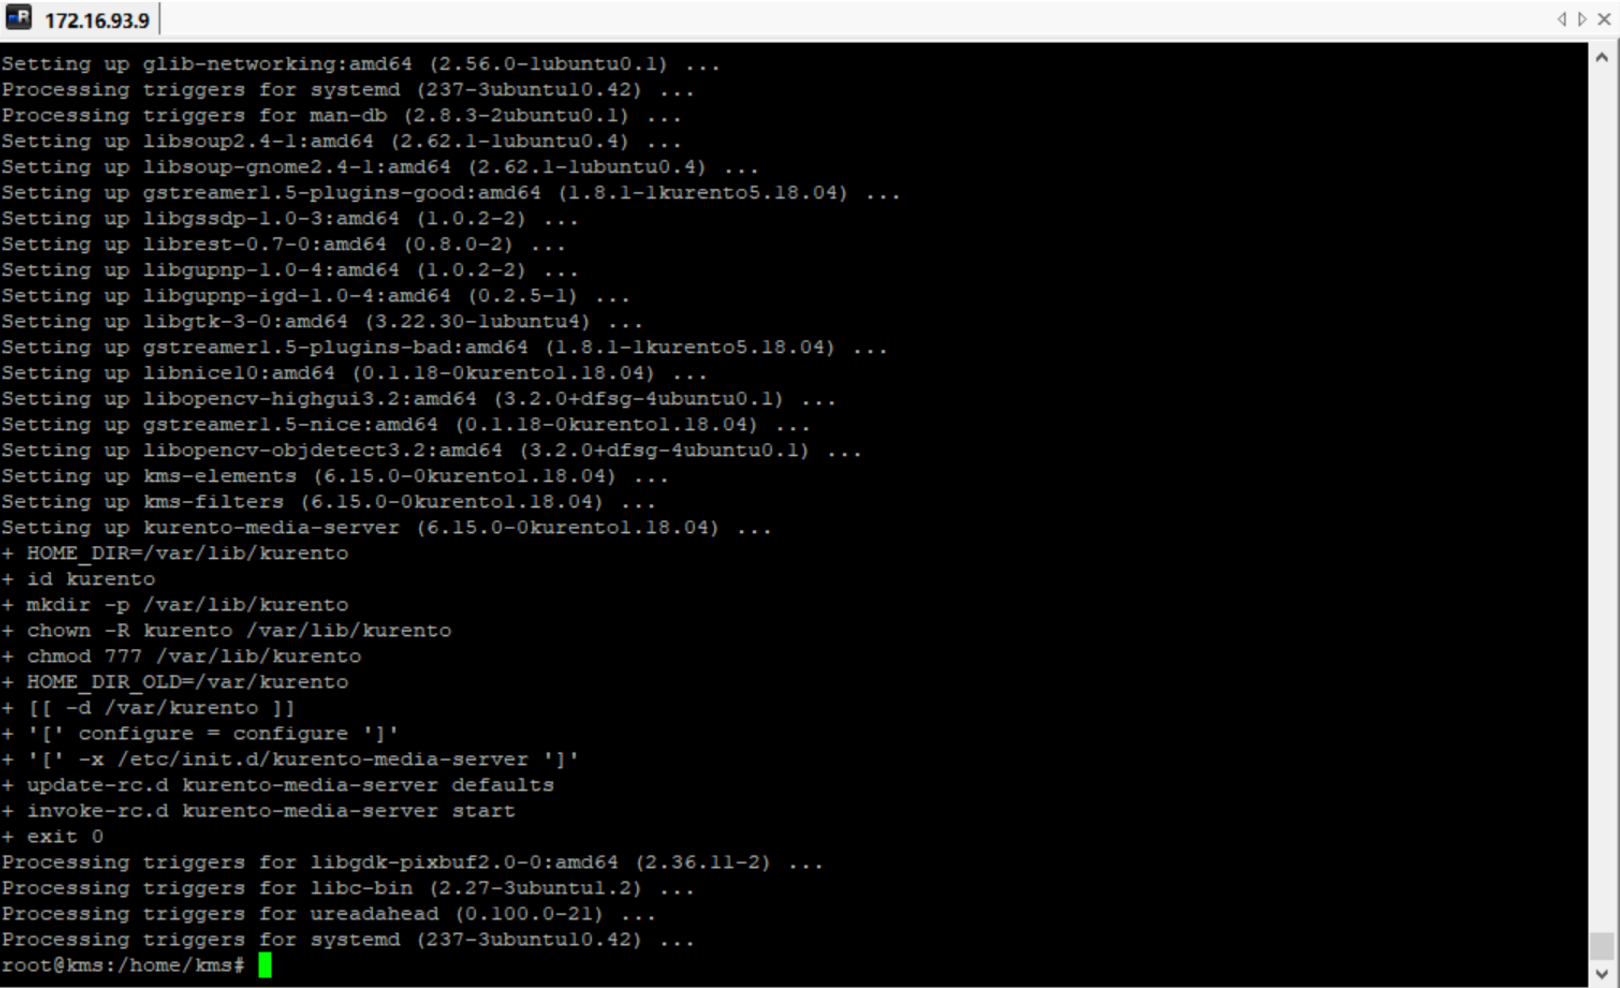
4)启动KMS
The server includes service files which integrate with the Ubuntu init system, so you can use the following commands to start and stop it:
服务器包含与Ubuntu初始化系统集成的服务文件,因此您可以使用以下命令来启动和停止它:
sudo service kurento-media-server start
sudo service kurento-media-server stop
日志目录:/var/log/kurento-media-server/
二、前提条件准备
1、数据库准备,本文中我们直接使用默认的H2数据库
Recommendation for production environment By default OpenMeetings uses the integrated H2 database. For production environment you should consider using MySQL , Postgres , or for example IBM DB2 , or Oracle , or MSSQL |
生产环境建议
默认情况下,OpenMeetings使用集成的H2数据库。对于生产环境,您应该考虑使用MySQL、Postgres,或者例如ibmdb2、Oracle或MSSQL
2、下载并安装JRE(JDK)
Note: Openmeetings requires JRE 11, JRE 6/7/8 are NOT compatible!
提醒:Openmeetings需要JRE11,JRE 6/7/8 都无法兼容!
先卸载Ubuntu自带的OpenJDK:
sudo apt-get remove openjdk*
安装JDK的方法有很多,在这里我们可以直接通过apt安装:
apt install openjdk-11-jre-headless
执行命令后等待一会儿即可:
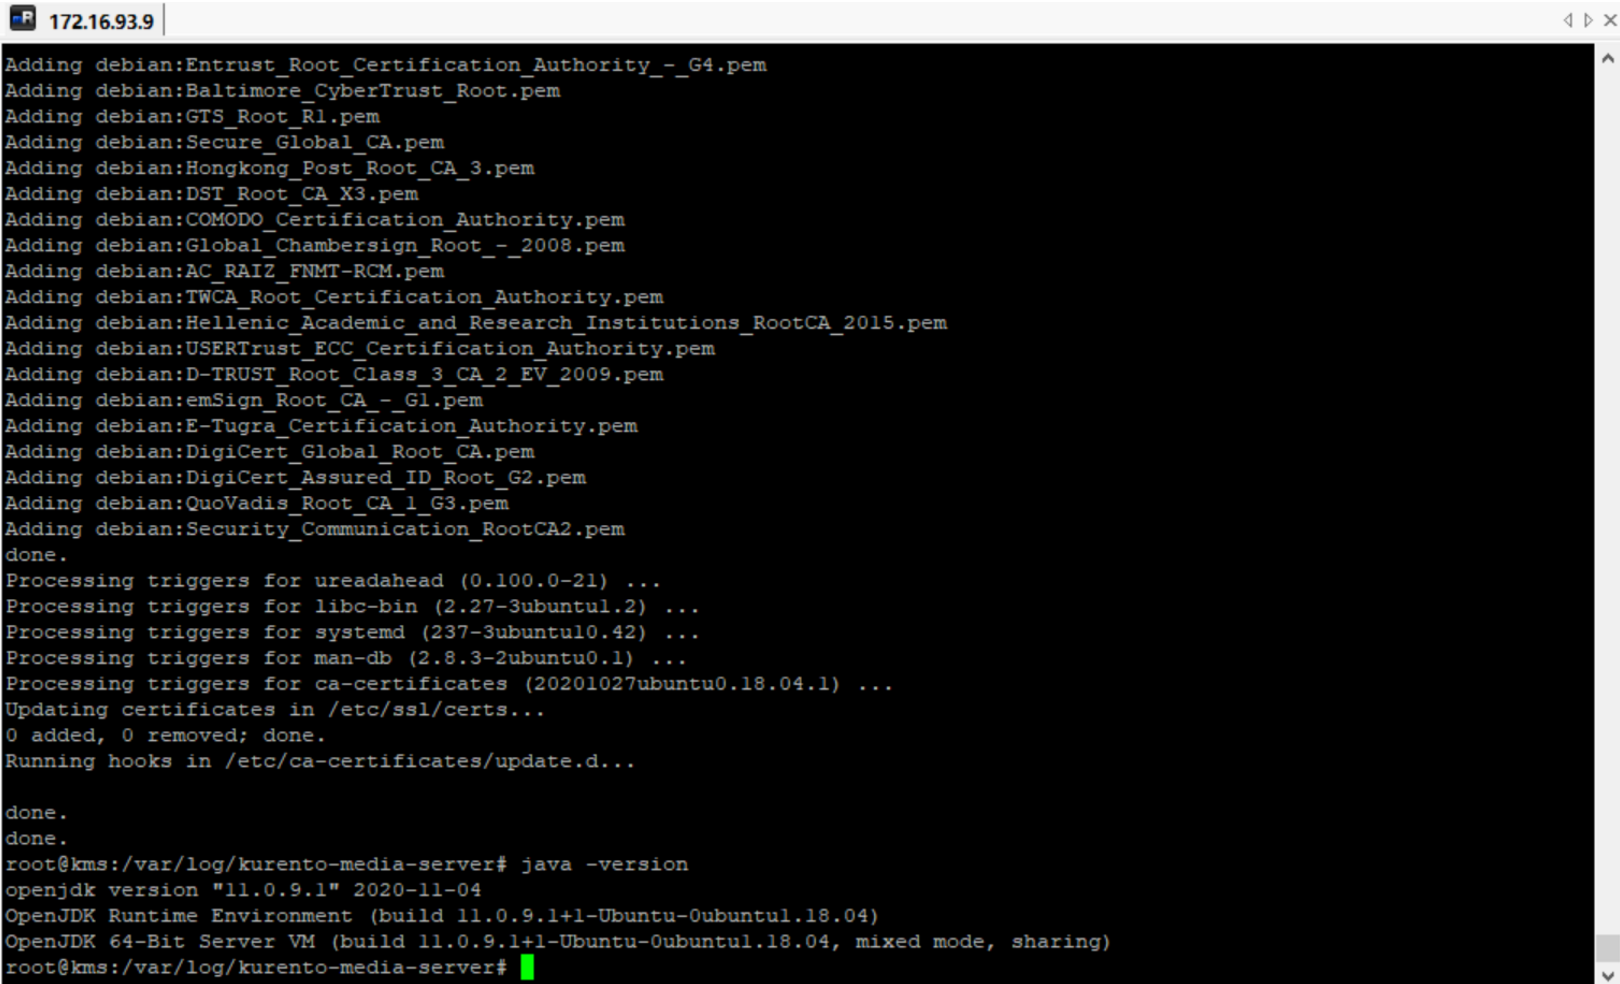
当前JDK版本:11.0.9.1
3、安装ImageMagick
Enabling Image Upload and import to whiteboard Install ImageMagick on the server, you can get more information on http://www.imagemagick.org regarding installation. The instructions for installation can be found there http://www.imagemagick.org/script/binary-releases.php , however on most Linux systems you can get it via your favorite package managers (apt-get it) |
启用图像上载和导入到白板
前提条件:在服务器上安装ImageMagick,您可以获得有关http://www.imagemagick.org关于安装。
安装说明可以在那里找到http://www.imagemagick.org/script/binary-releases.php,但是在大多数Linux系统上,您可以通过您最喜欢的包管理器(apt-get-it)获得它
sudo apt-get install imagemagick
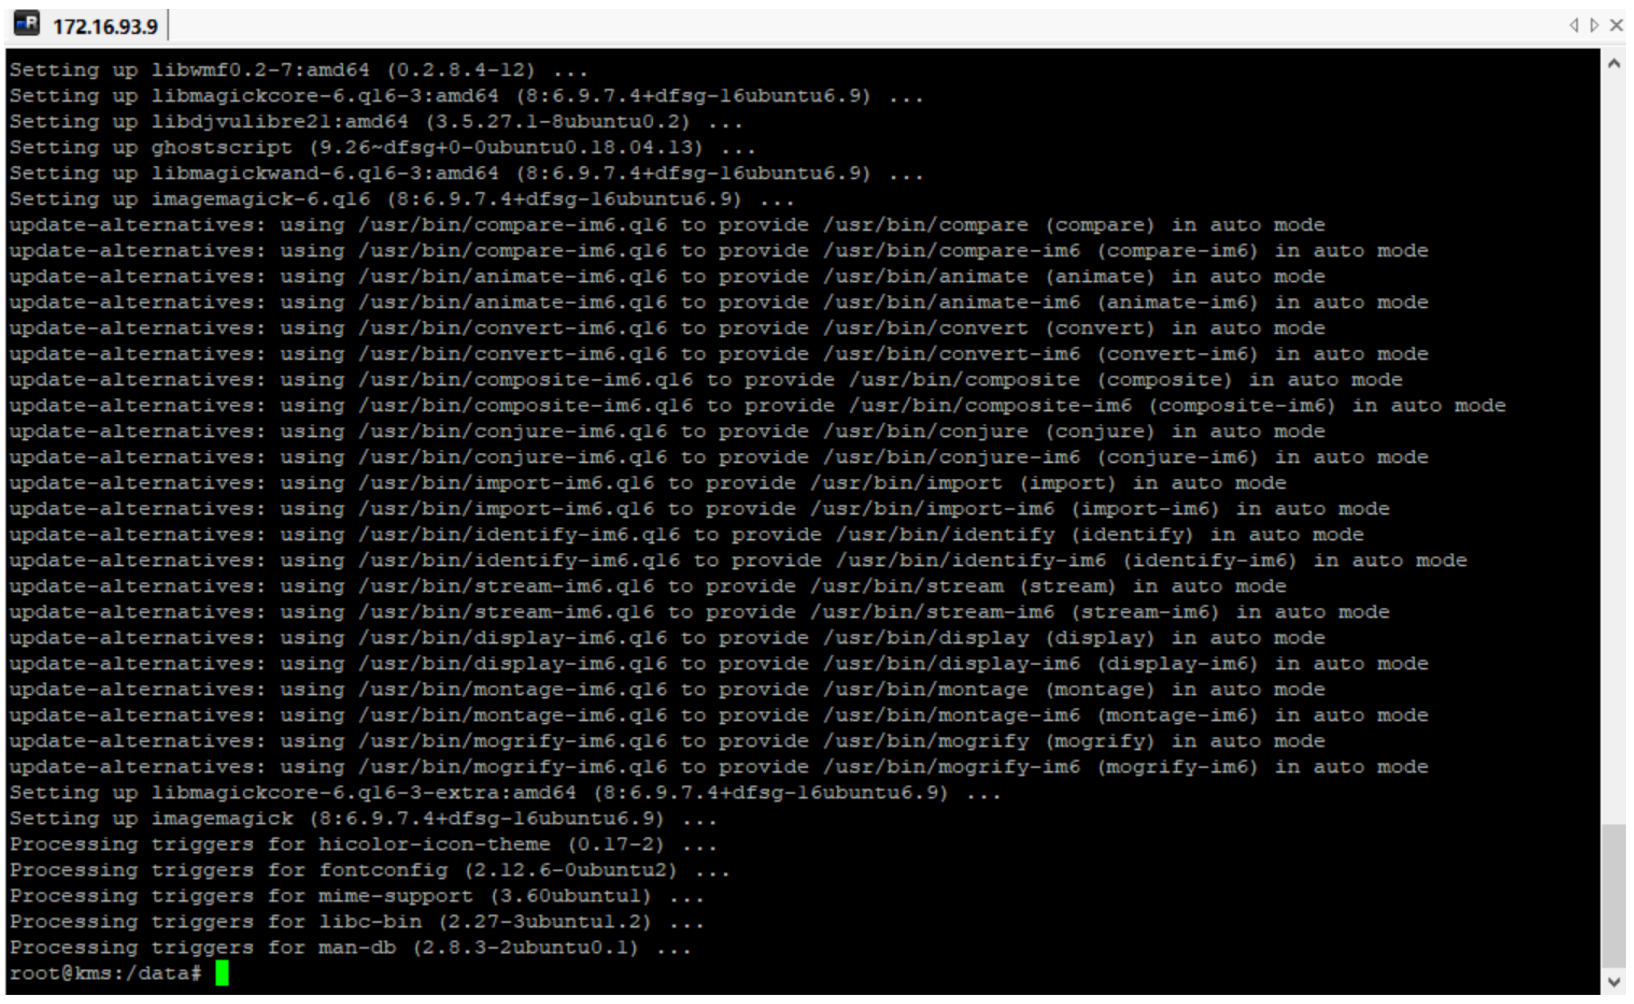
查询安装的目录:
dpkg -L imagemagick
4、安装GhostScript
Enabling import of PDFs into whiteboard ● Install GhostScript on the server, you can get more information on http://www.ghostscript.com/download/gsdnld.html regarding installation. The instructions for installation can be found there, however on most Linux systems you can get it via your favorite package managers (apt-get it). |
启用将PDF导入白板
前提条件:在服务器上安装GhostScript,您可以获得有关http://www.ghostscript.com/download/gsdnld.html关于安装。
安装说明可以在那里找到,但是在大多数Linux系统上,您可以通过您最喜欢的包管理器(apt-get-it)获得它。
sudo apt-get install ghostscript
一般在Ubuntu18操作系统里,GhostScript已经安装过了。
查询安装的目录:
dpkg -L ghostscript
查询ghostscript版本
ghostscript
5、安装OpenOffice或者Libre Office(略)
Enabling import of .doc, .docx, .ppt, .pptx, ... all Office Documents into whitebaord ● OpenOffice or Libre Office Installed Since Version 2.x of OpenMeetings it is no more required to start OpenOffice (or Libreoffice) service, see OpenOfficeConverter for details |
启用将导入.doc、.docx、.ppt、.pptx.....所有Office文件都放在白板中
前提条件:已安装OpenOffice或Libre Office
由于OpenMeetings的2.x版不再需要启动OpenOffice(或Libreoffice)服务,有关详细信息,请参阅OpenOfficeConverter
6、安装FFMpeg和 SoX
1. Enabling Recording and import of .avi, .flv, .mov and .mp4 into whiteboard ○ Install FFMpeg (with -enabled libmp3lame and libx264 options) . You should get FFMPEG in an up to date copy! OpenMeetings is tested with FFMPEG Version 10.3 and latest build from GIT For Windows you can download a Build for example from http://ffmpeg.zeranoe.com/builds/ Linux or OSx Users should be able to use one of the various Installation Instructions on the Web. You need to enable libmp3lame and libx264! ○ Install SoX http://sox.sourceforge.net/ . You should install SoX in a up to date copy! SoX 12.xx will NOT work! |
启用录制并将.avi、.flv、.mov和.mp4导入白板
前提条件:安装FFMpeg(使用启用的libmp3lame和libx264选项)。你应该得到一份最新的FFMPEG!OpenMeetings使用FFMPEG 10.3版和GIT For Windows的最新版本进行了测试,您可以从下载一个版本,例如http://ffmpeg.zeranoe.com/builds/Linux或OSx用户应该能够使用Web上的各种安装说明之一。您需要启用libmp3lame和libx264!
前提条件:安装SoXhttp://sox.sourceforge.net/. 你应该在最新版本中安装SoX!SoX 12.xx将不起作用!
1)安装FFMpeg
sudo apt-get install ffmpeg
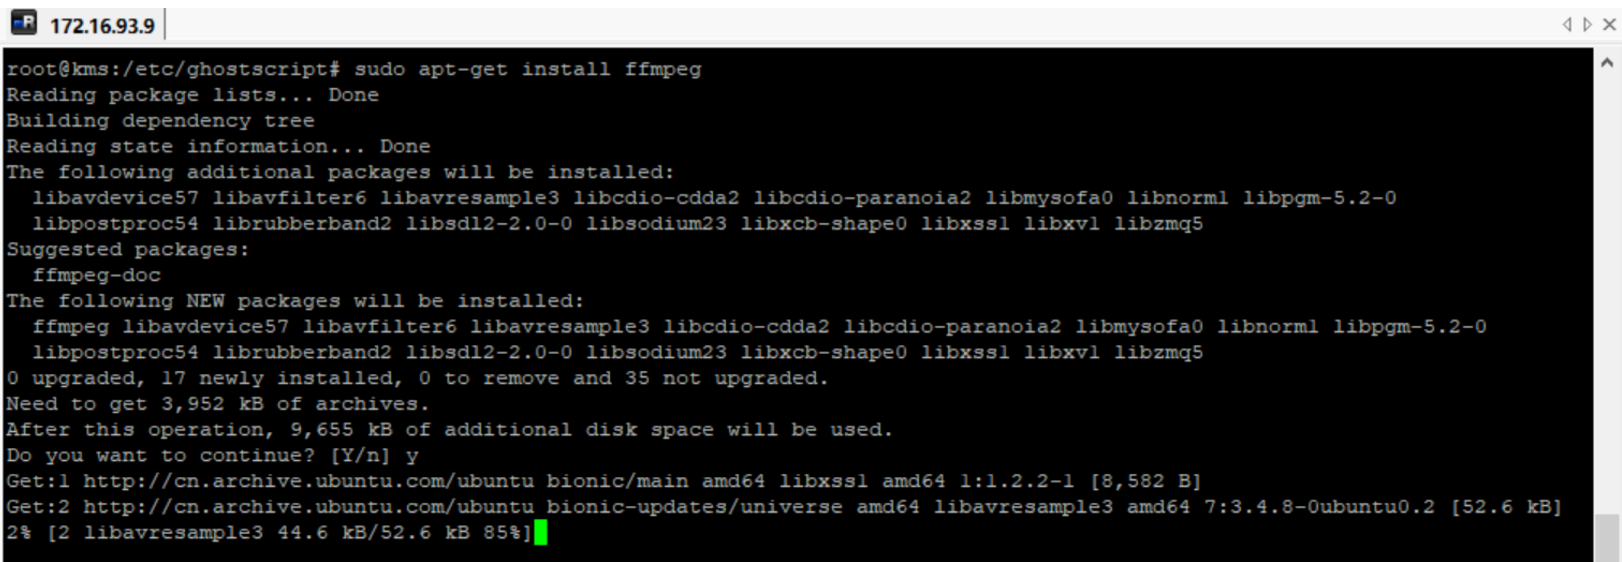
查询安装的目录:
dpkg -L ffmpeg

查询ffmpeg版本:
ffmpeg
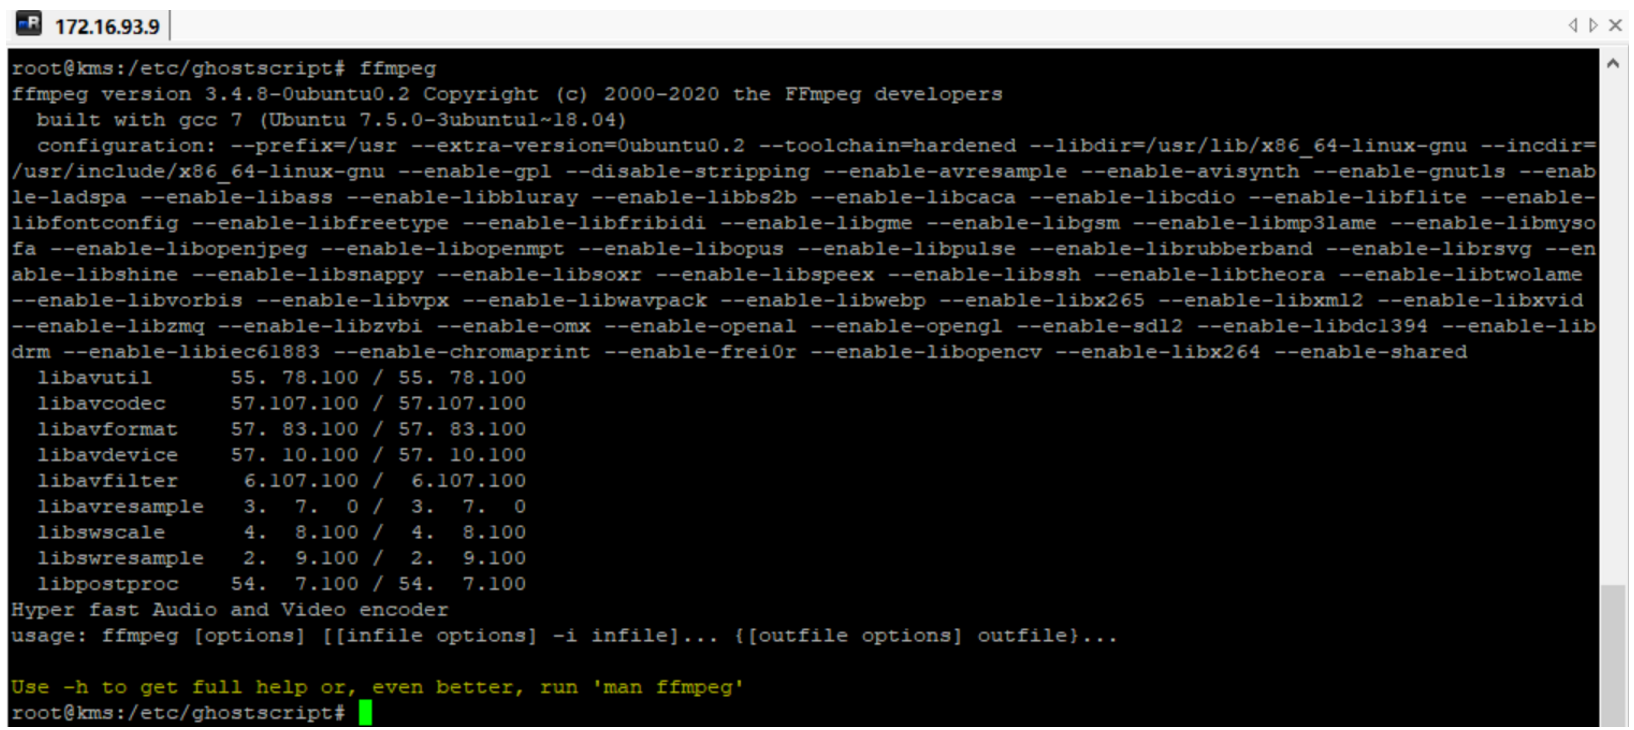
2)安装SoX
apt-get install sox
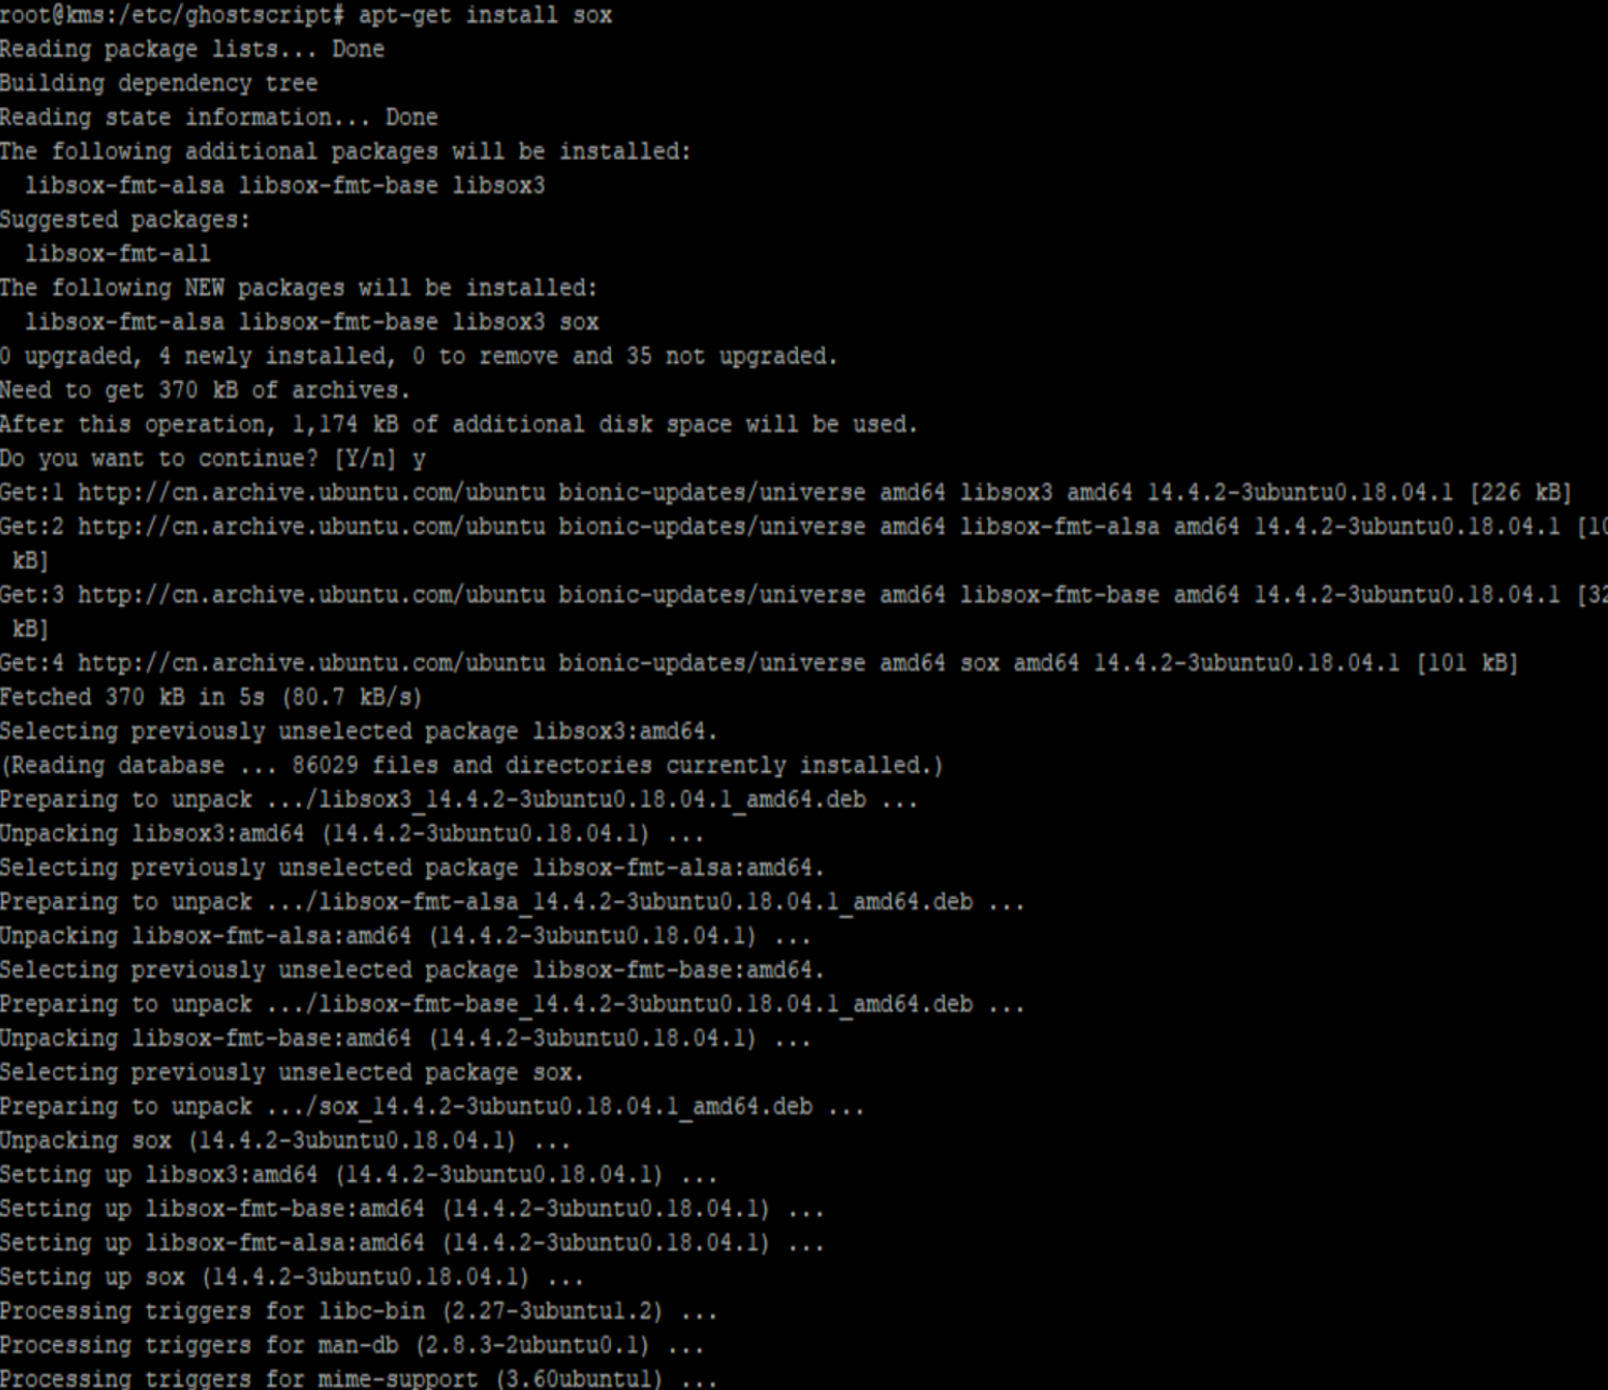
查询安装的目录:
dpkg -L sox
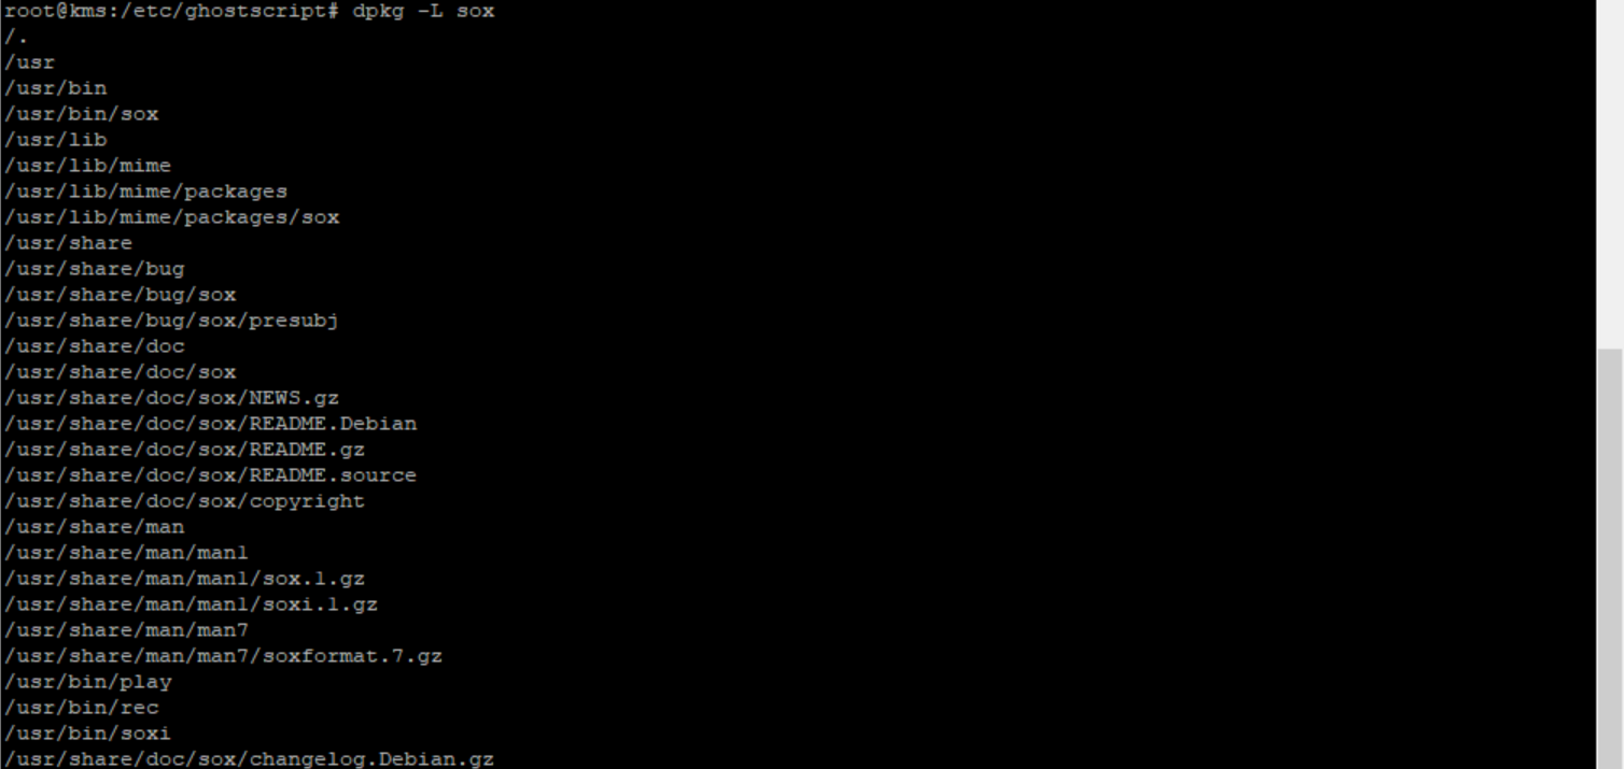
查询sox版本
sox --version

三、下载和启动Openmeetings
1、下载Openmeetings-5.1.0并上传
下载链接:https://downloads.apache.org/openmeetings/5.1.0/bin/apache-openmeetings-5.1.0.zip

或者通过命令直接从服器下载:
wget https://downloads.apache.org/openmeetings/5.1.0/bin/apache-openmeetings-5.1.0.zip
创建/data目录
root@kms:/# mkdir /data
将下载好的apache-openmeetings-5.1.0.zip放到/data目录下:

2、解压apache-openmeetings-5.1.0.zip
如果没有unzip命令,则需要先需要安装一下unzip再进行解压:
apt install unzip
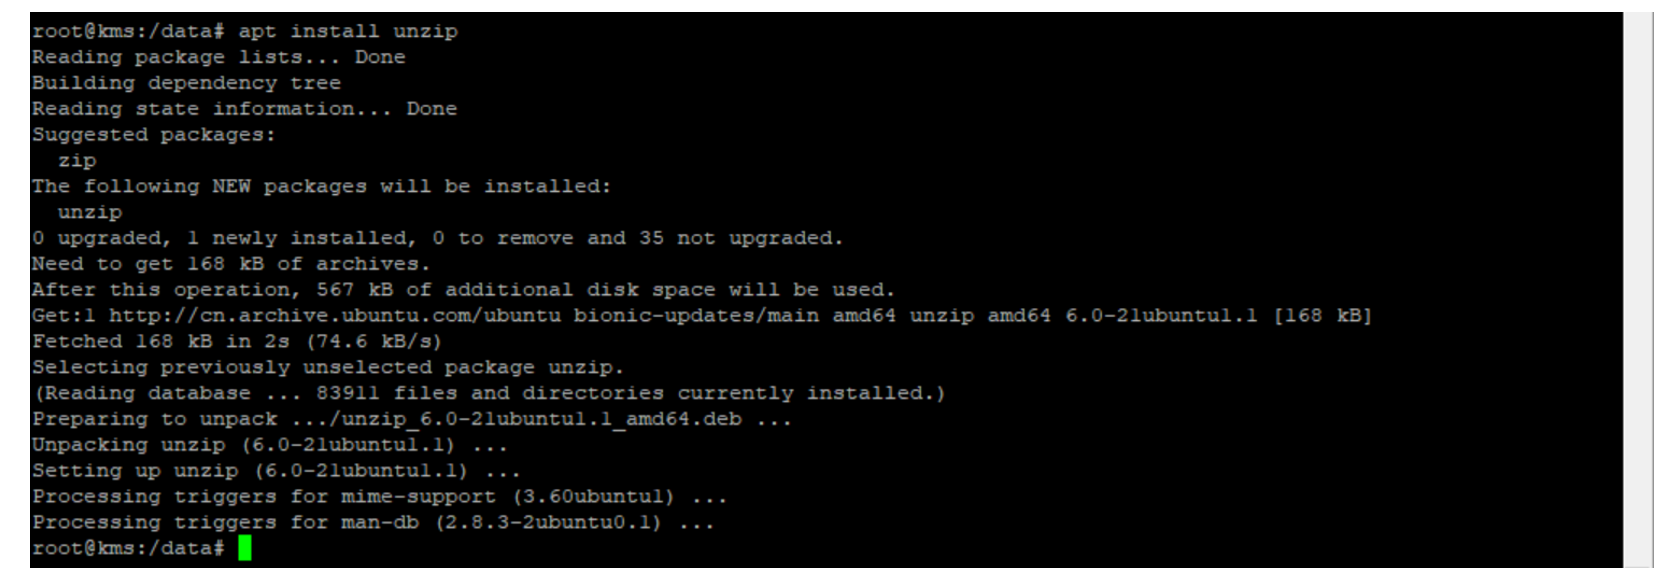
将文件解压到/data目录
unzip apache-openmeetings-5.1.0.zip

3、启动openmeetings服务
./data/apache-openmeetings-5.1.0/bin/startup.sh
四、安装和配置Openmeetings
使用浏览器访问openmeetings提供的安装服务:
URL: https://localhost:5443/openmeetings/install
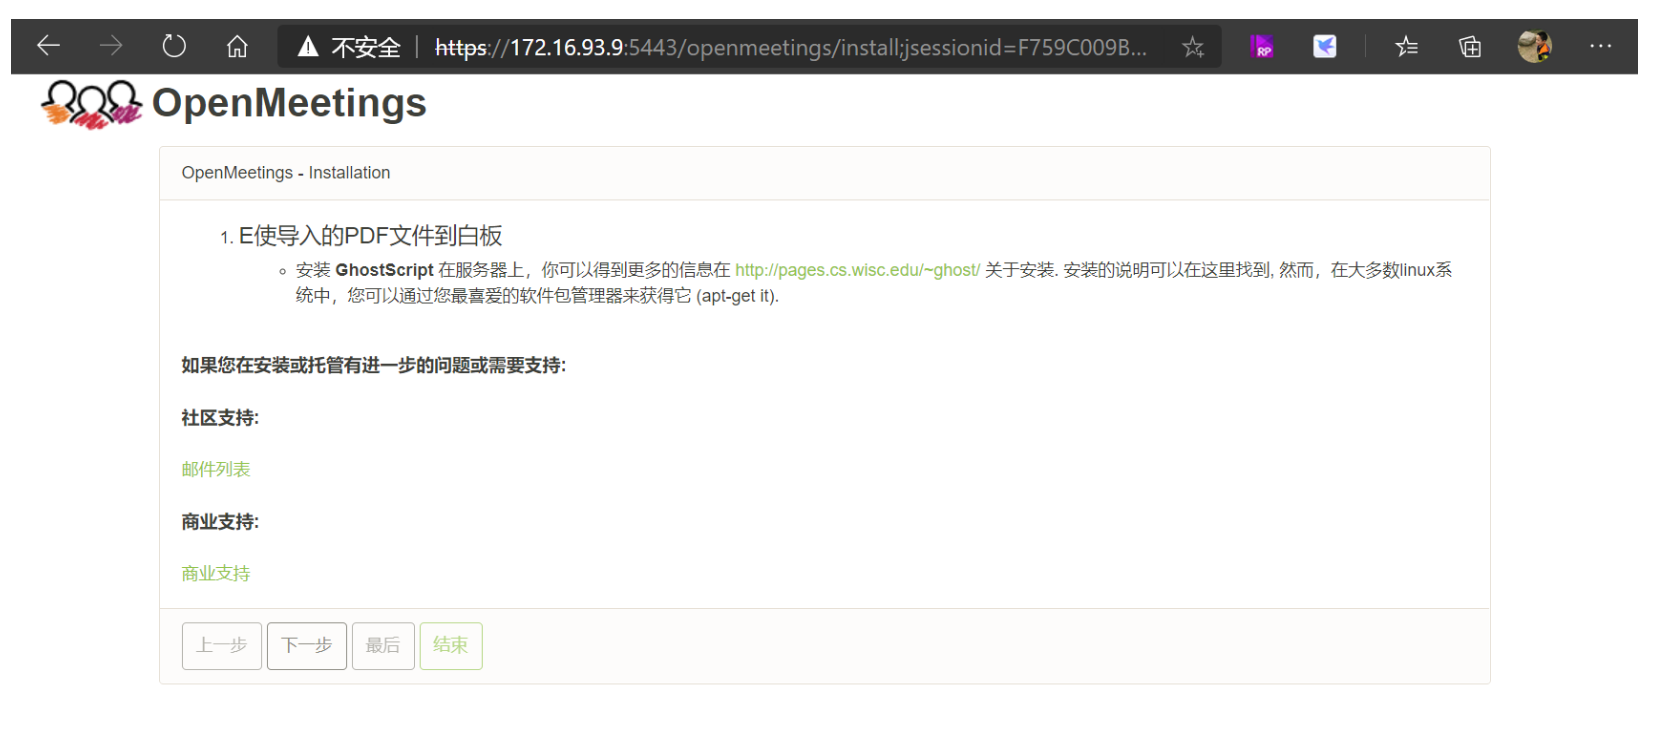
点击下一步进行数据库配置:
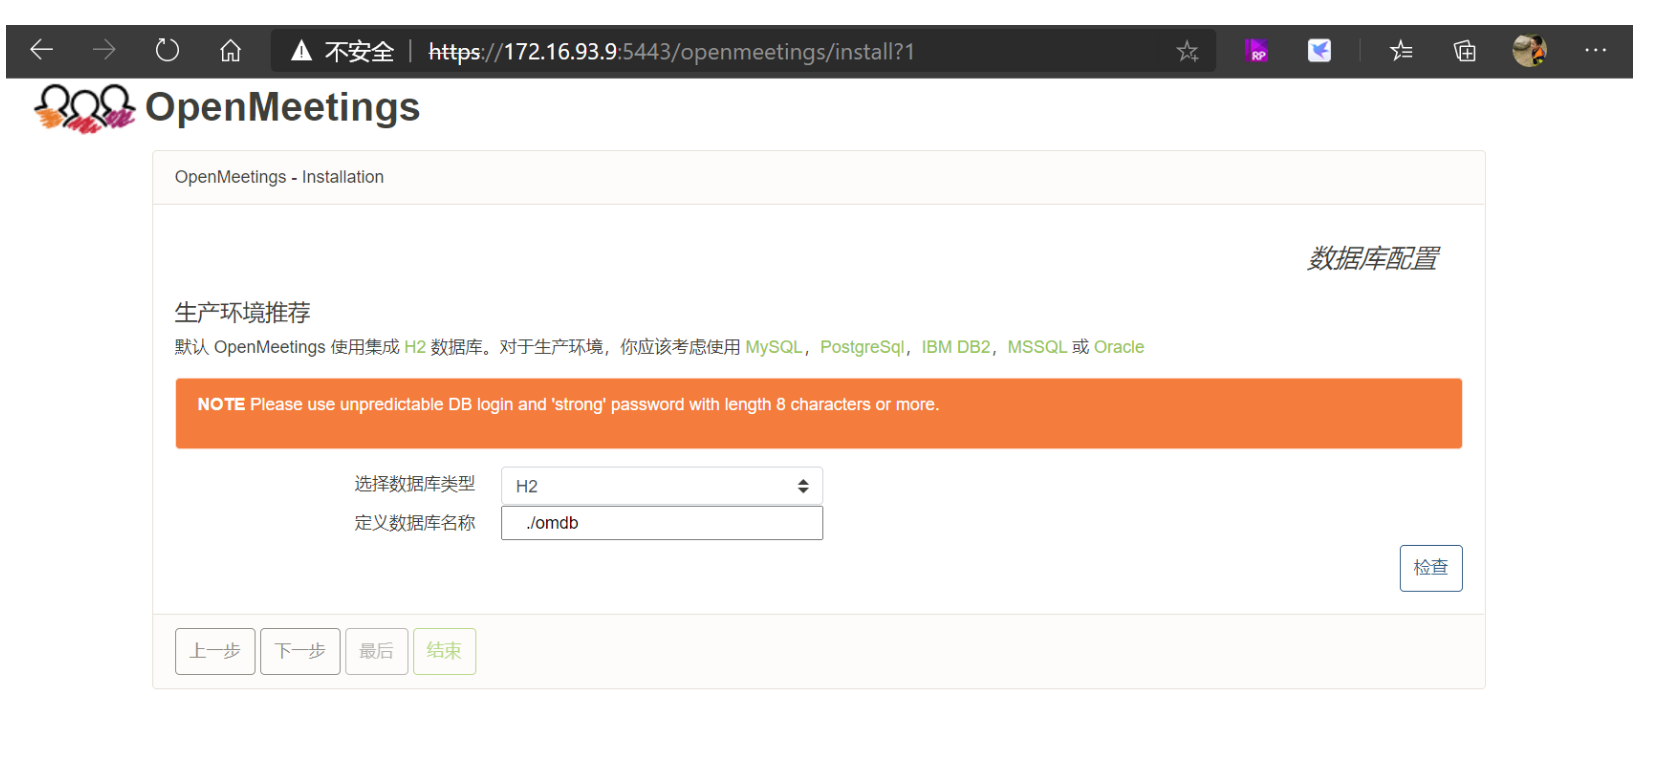
在这里我们不使用其他的数据库,直接使用默认的H2数据库进行演示,但是在正式环境,我们建议您使用Mysql等商用数据库服务器,并且做好数据备份等工作。
下图是Mysql服务器配置:
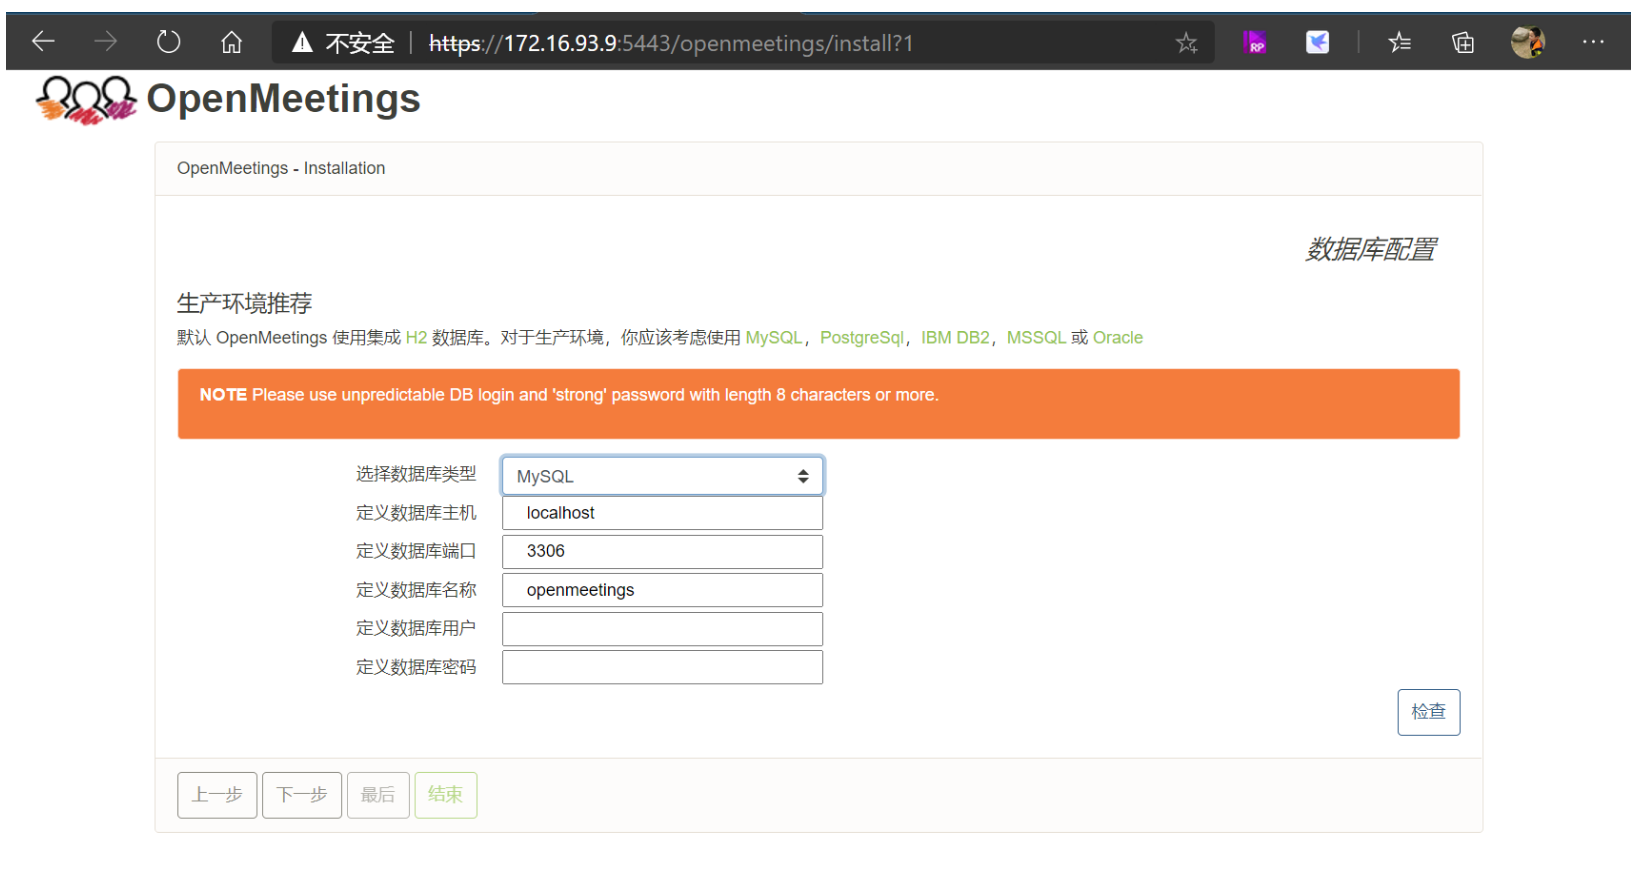
设置好数据库后,点击下一步进行管理员用户信息设置:
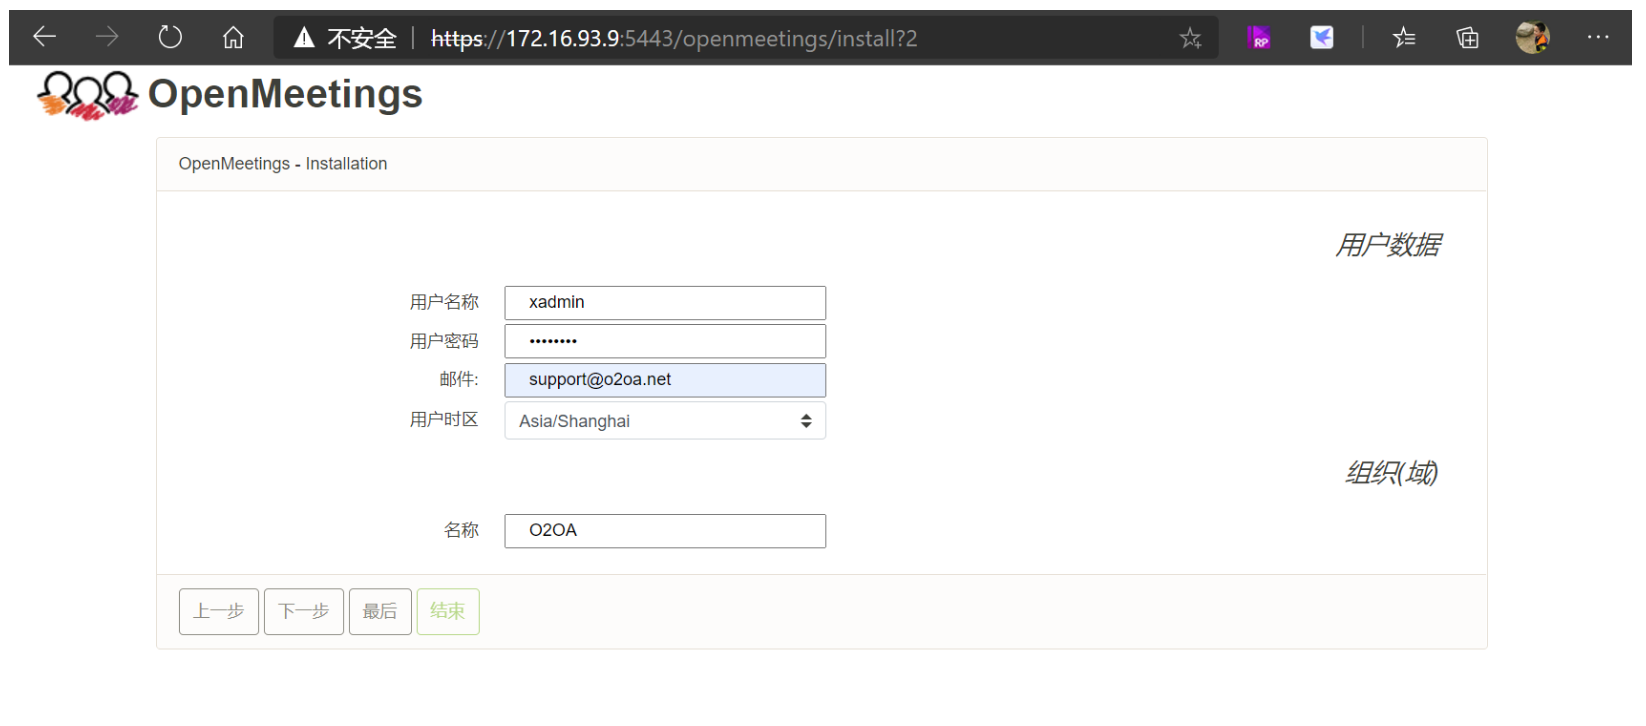
这里我们填写用户名,密码,邮件等信息,并且填写一个组织名称,然后点击下一步进行邮件相关配置:
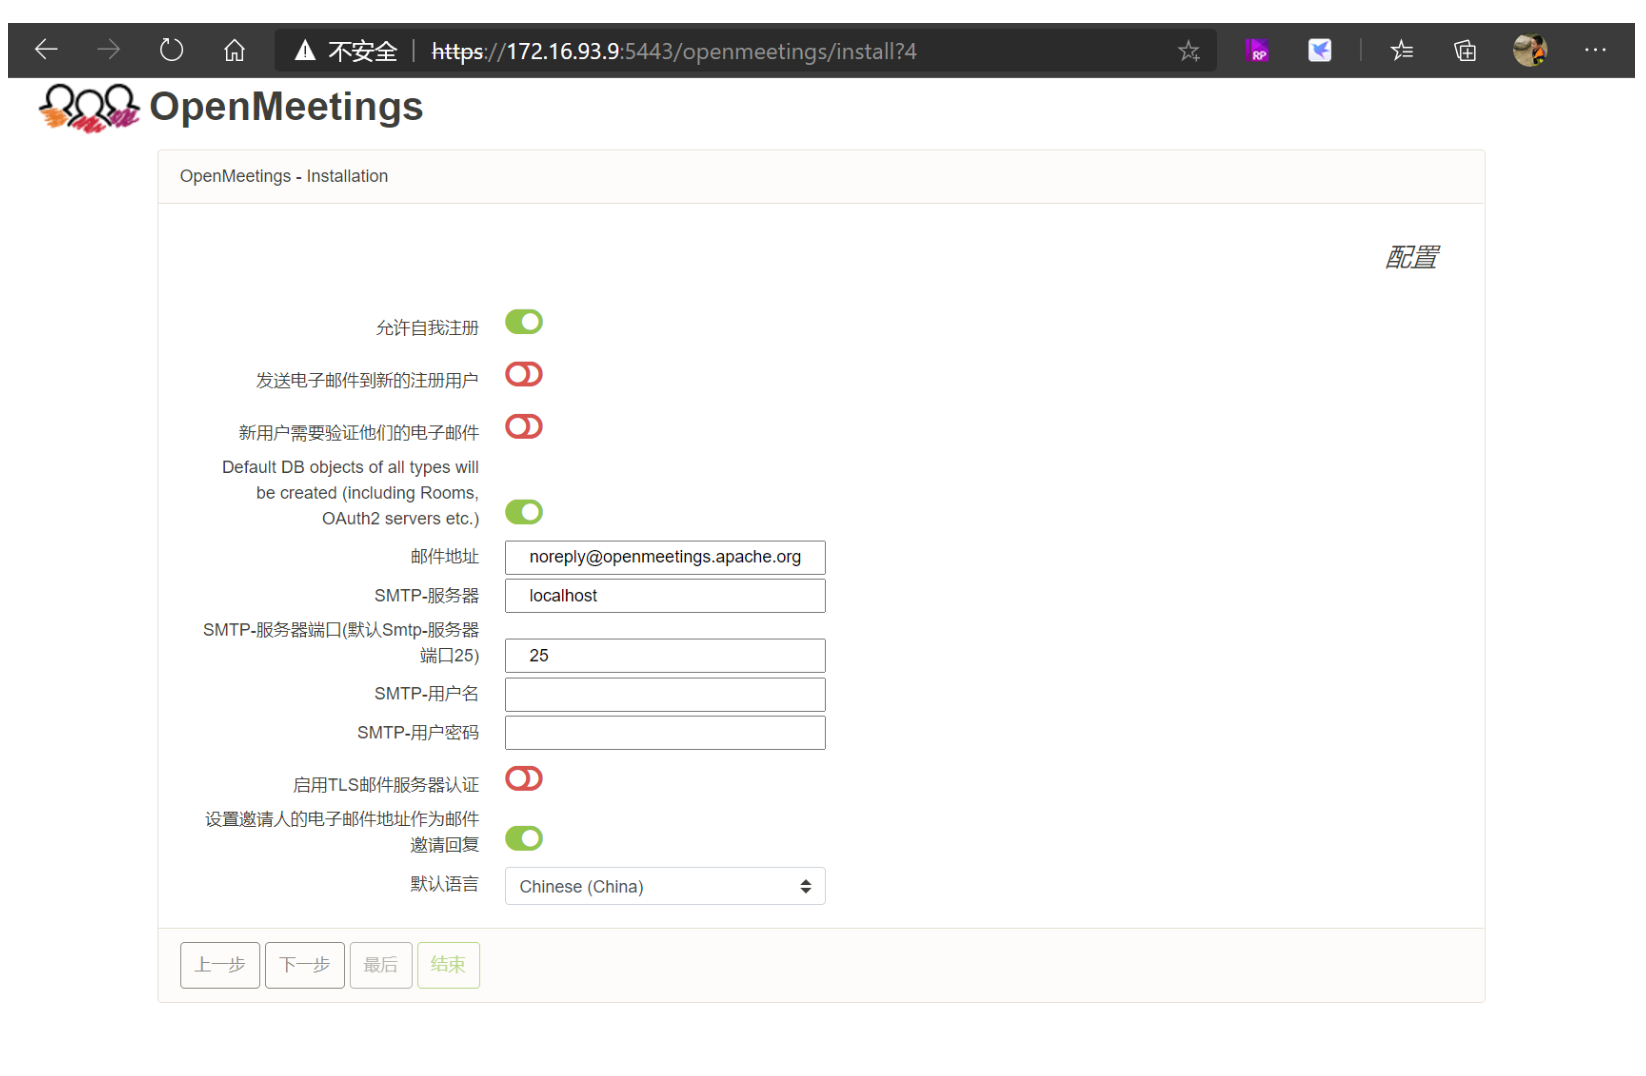
这里我们不作任何改动直接点击下一步,进行文档转换相关设置:
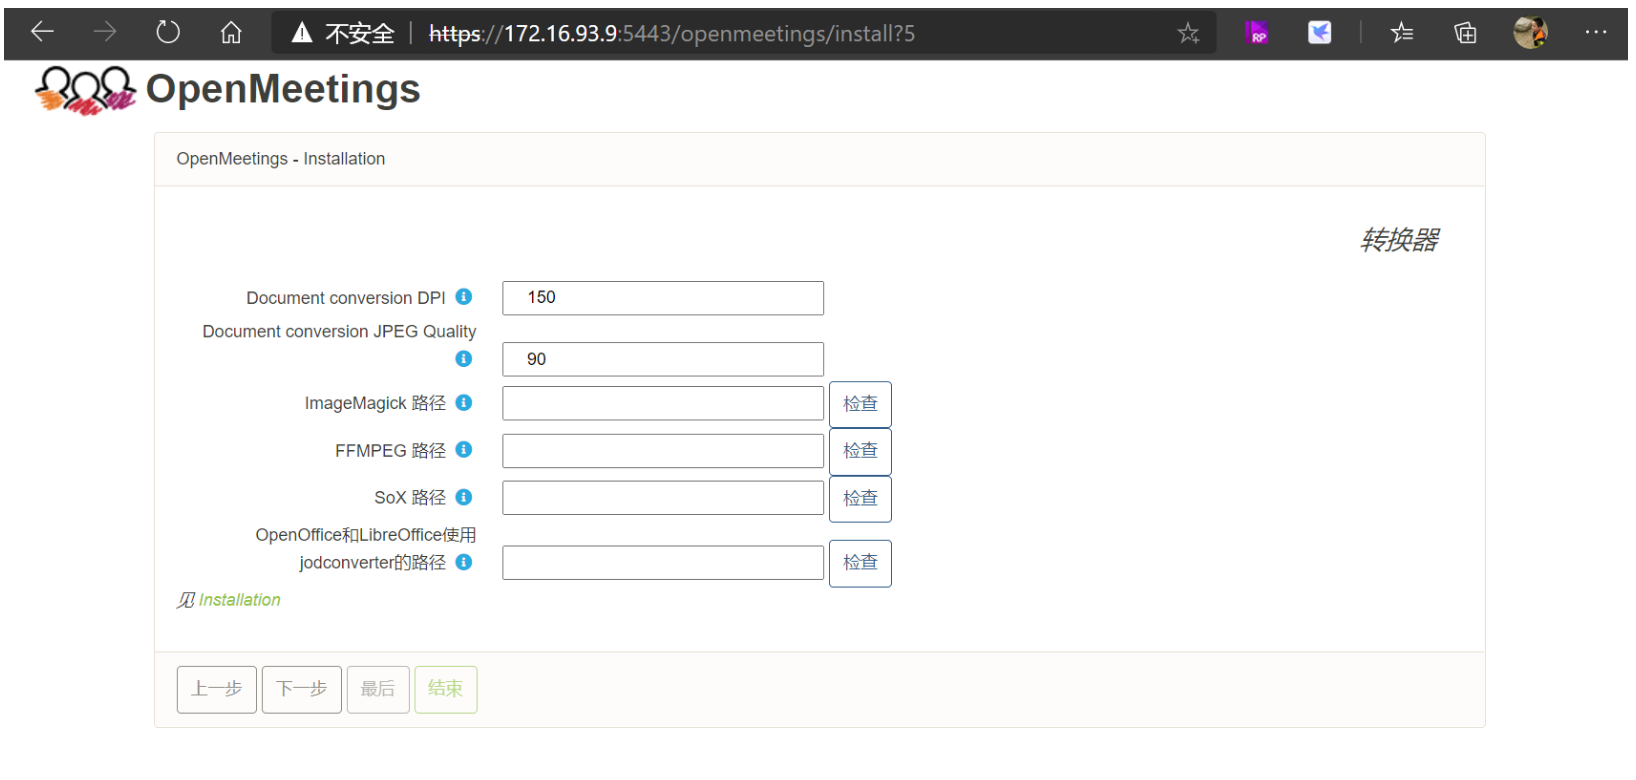
这里我们仍不然任何改变动,直接点击下一步进行信息安全相关设置:
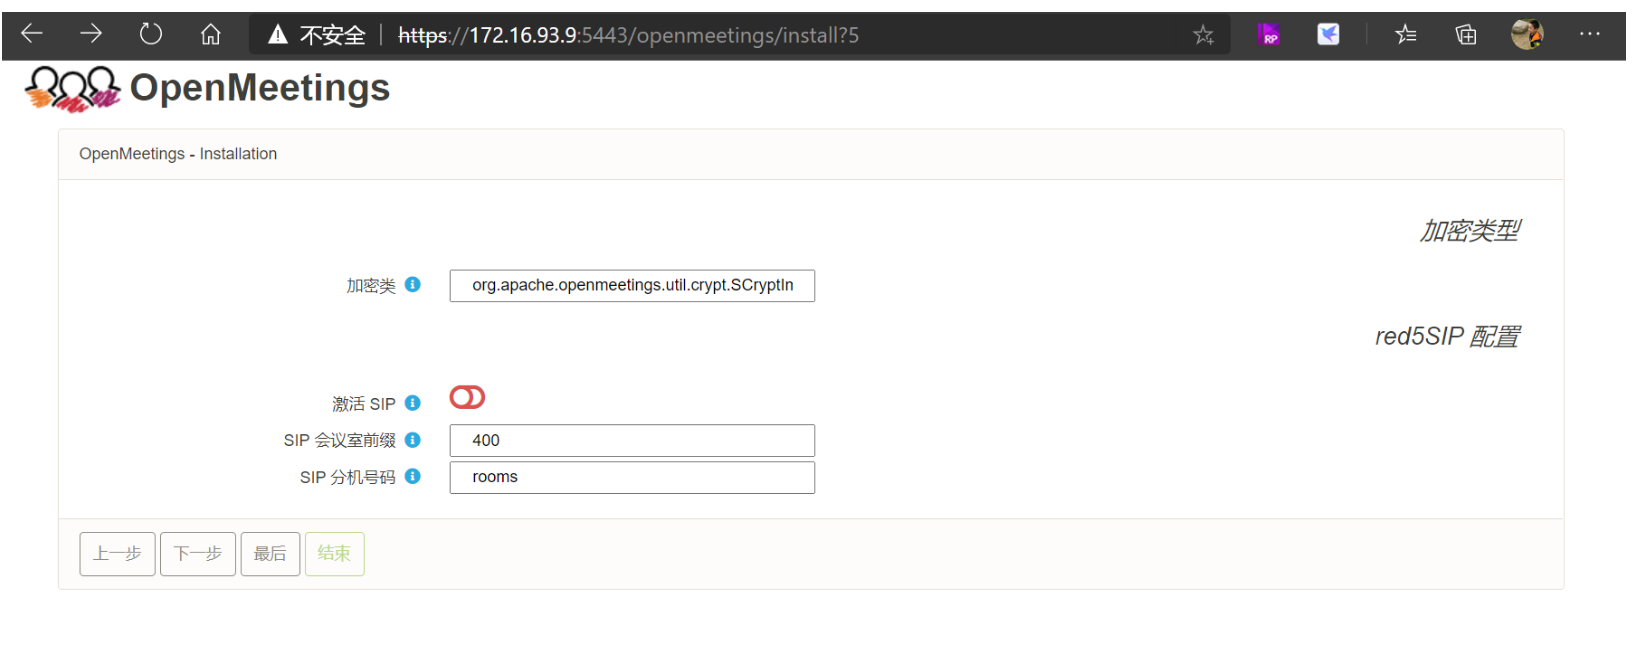
这里我们仍不然任何改变动,直接点击下一步准备开始安装。

在此界面并没有“完成”按钮,点击结束按钮我们可以开始安装(实际上就是完成配置动作),完成安装之后,您可以直接访问https://localhost:5443/openmeetings来使用openmeetings服务器提供的服务:
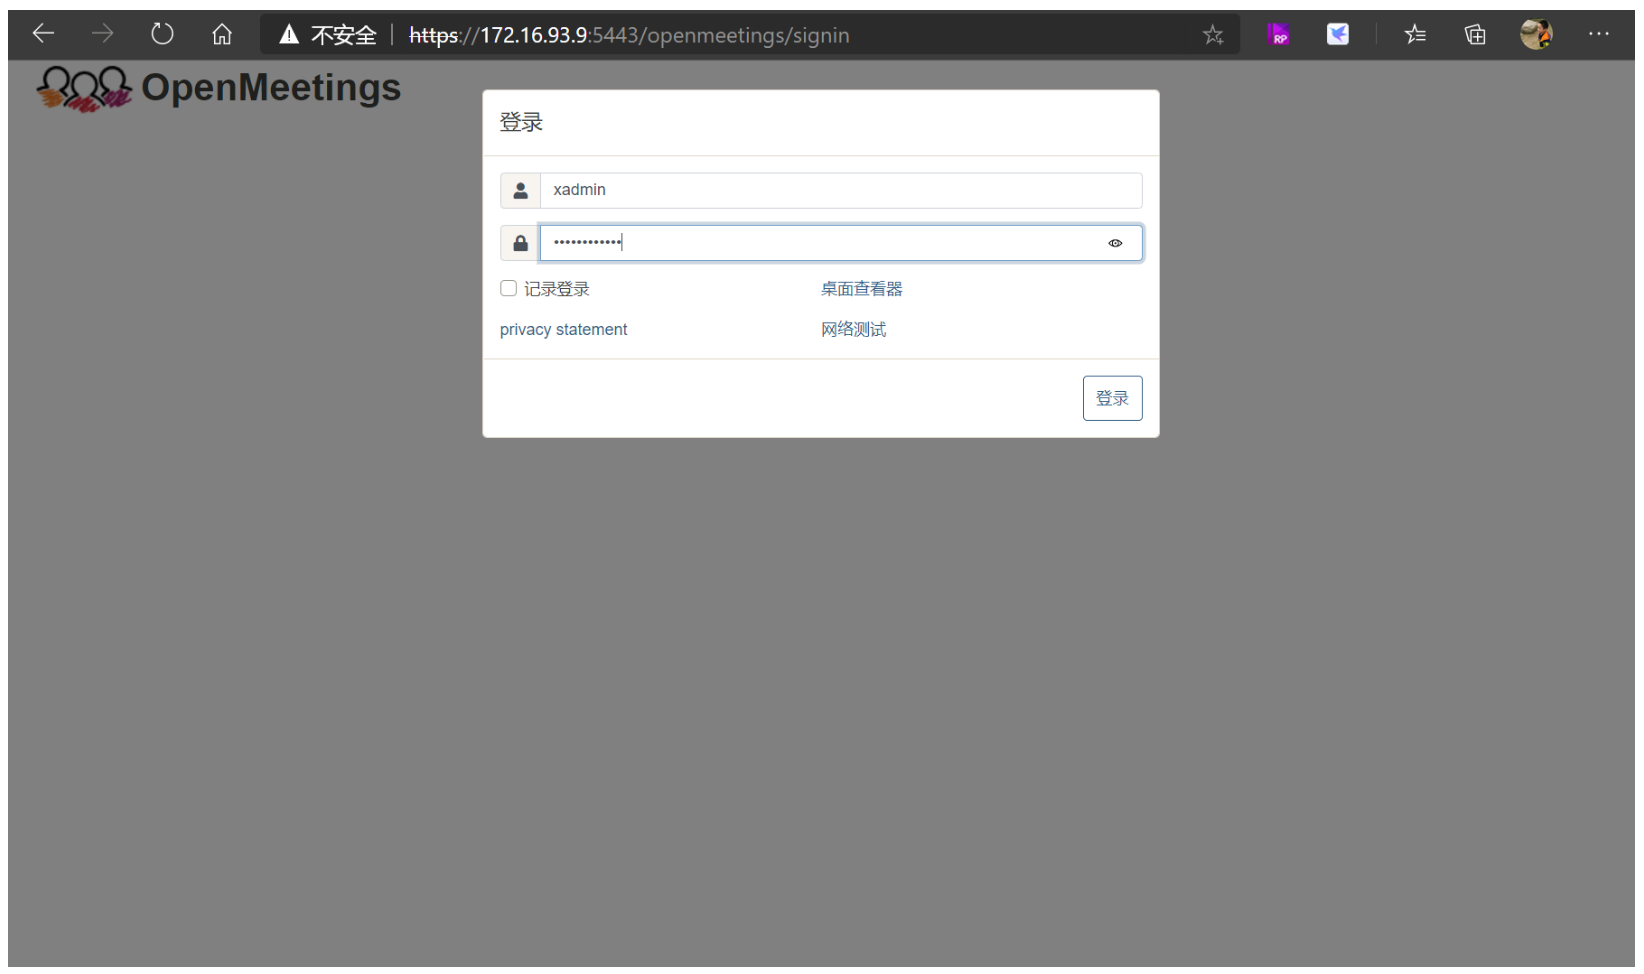
输入用户名密码登录到openmeetings服务器:
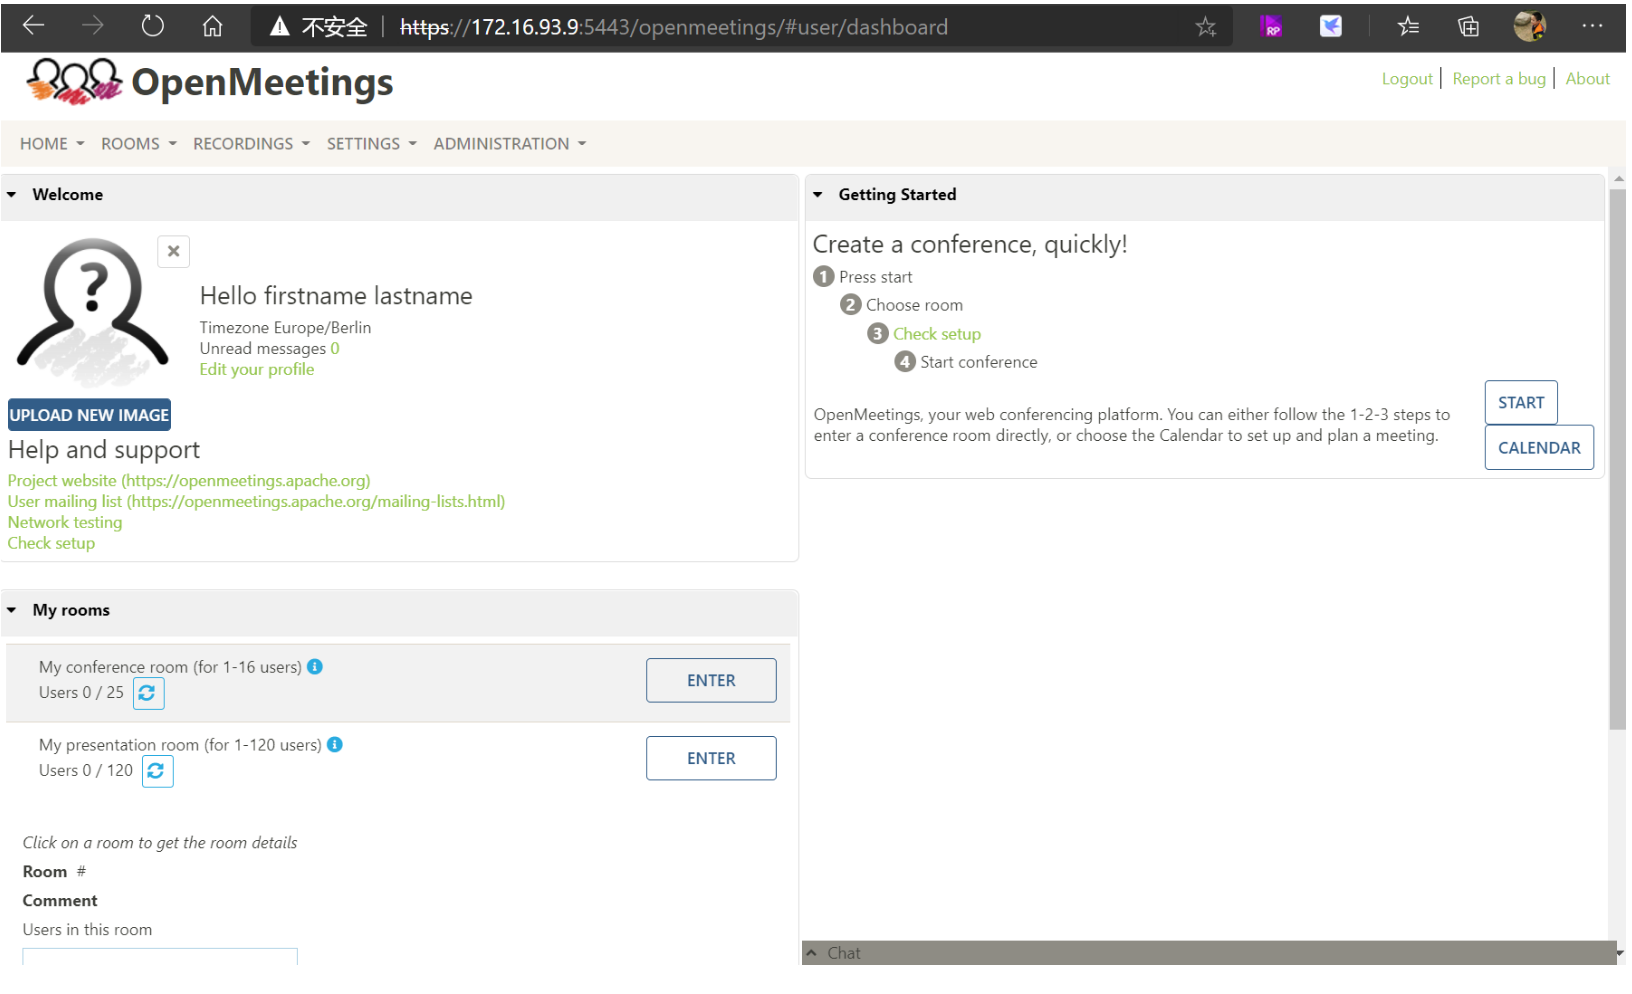
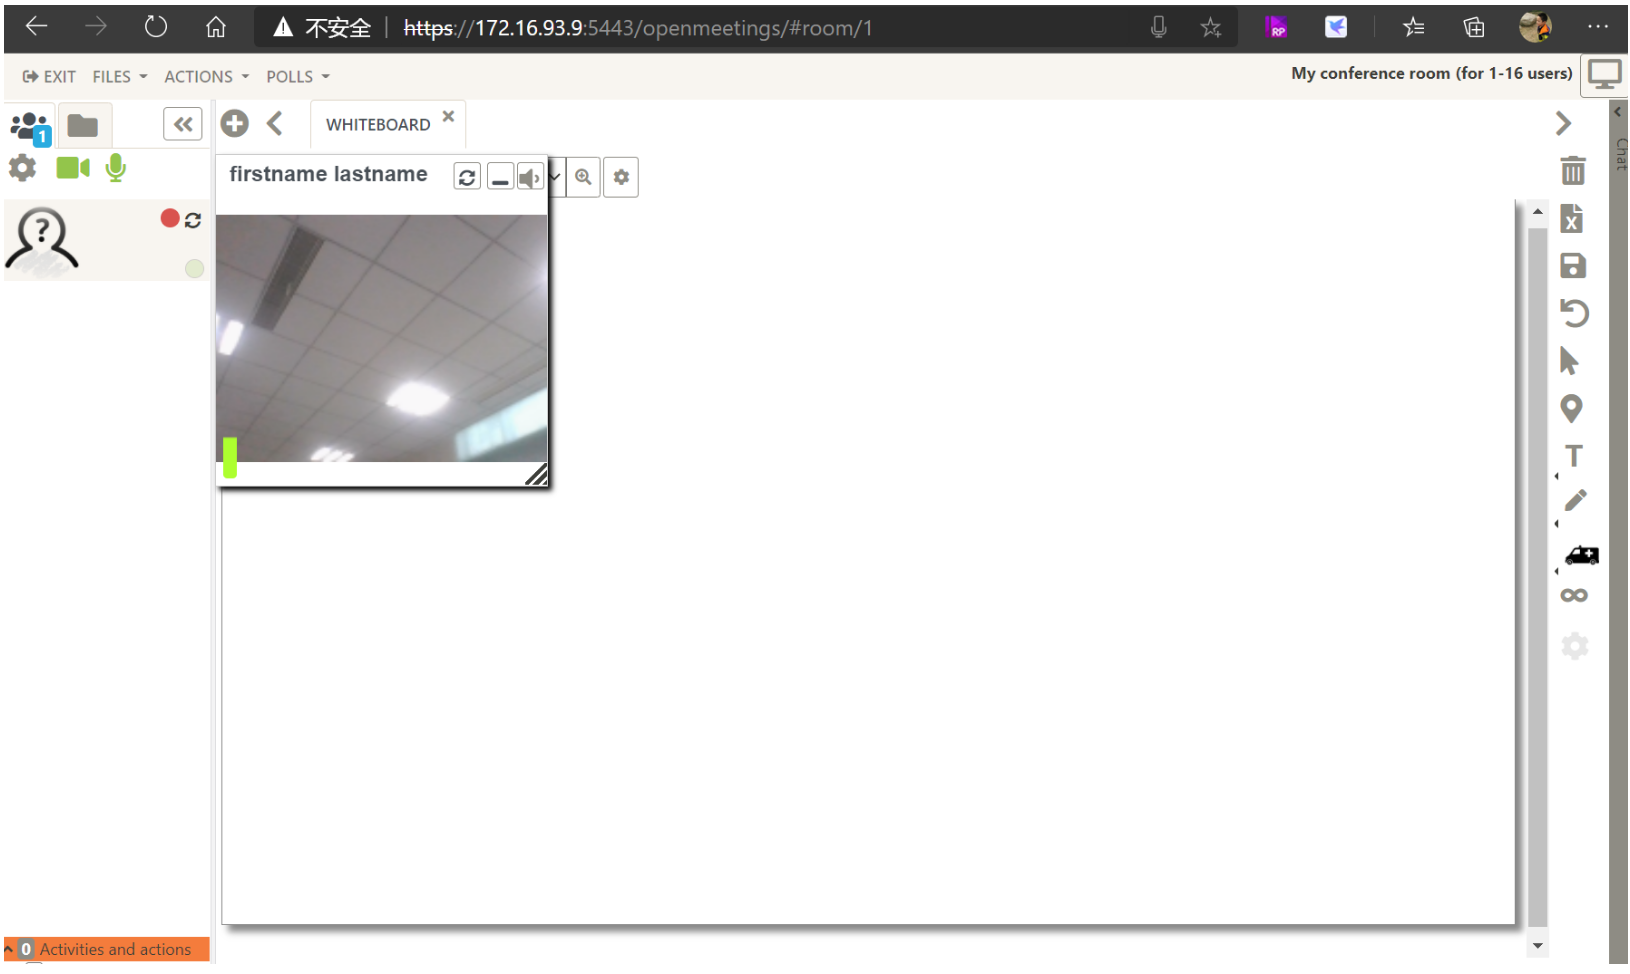
这里是用户主页,一个看板,上面有需要进行的所有工作有交流信息。下图是进入会议后的界面:
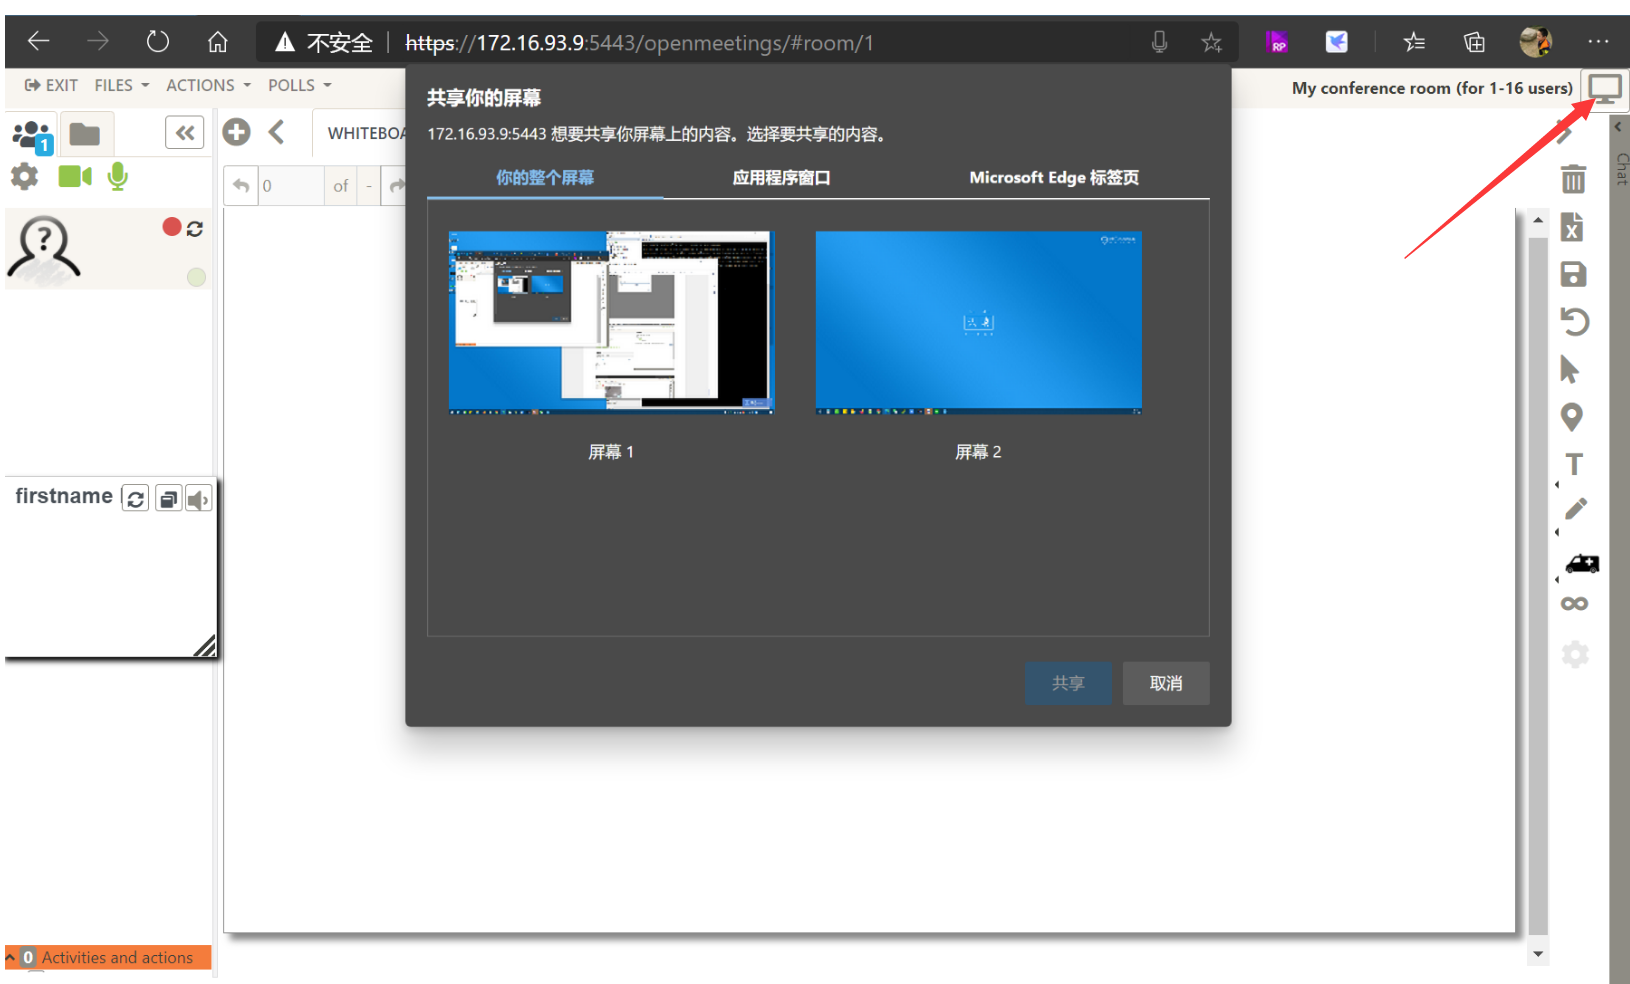
点击右上角的分享屏幕,我们可以将自己的计算机屏幕分享给参所有参会者:
关于Openmeeting的使用,您可以百度,或者到官方网站看到更多的文档和演示,我们以安装步骤为主,就不过多赘述,下一篇我们将指导大家如何将openmeetings与O2OA打通认证机制。


 浙公网安备 33010602009829号